
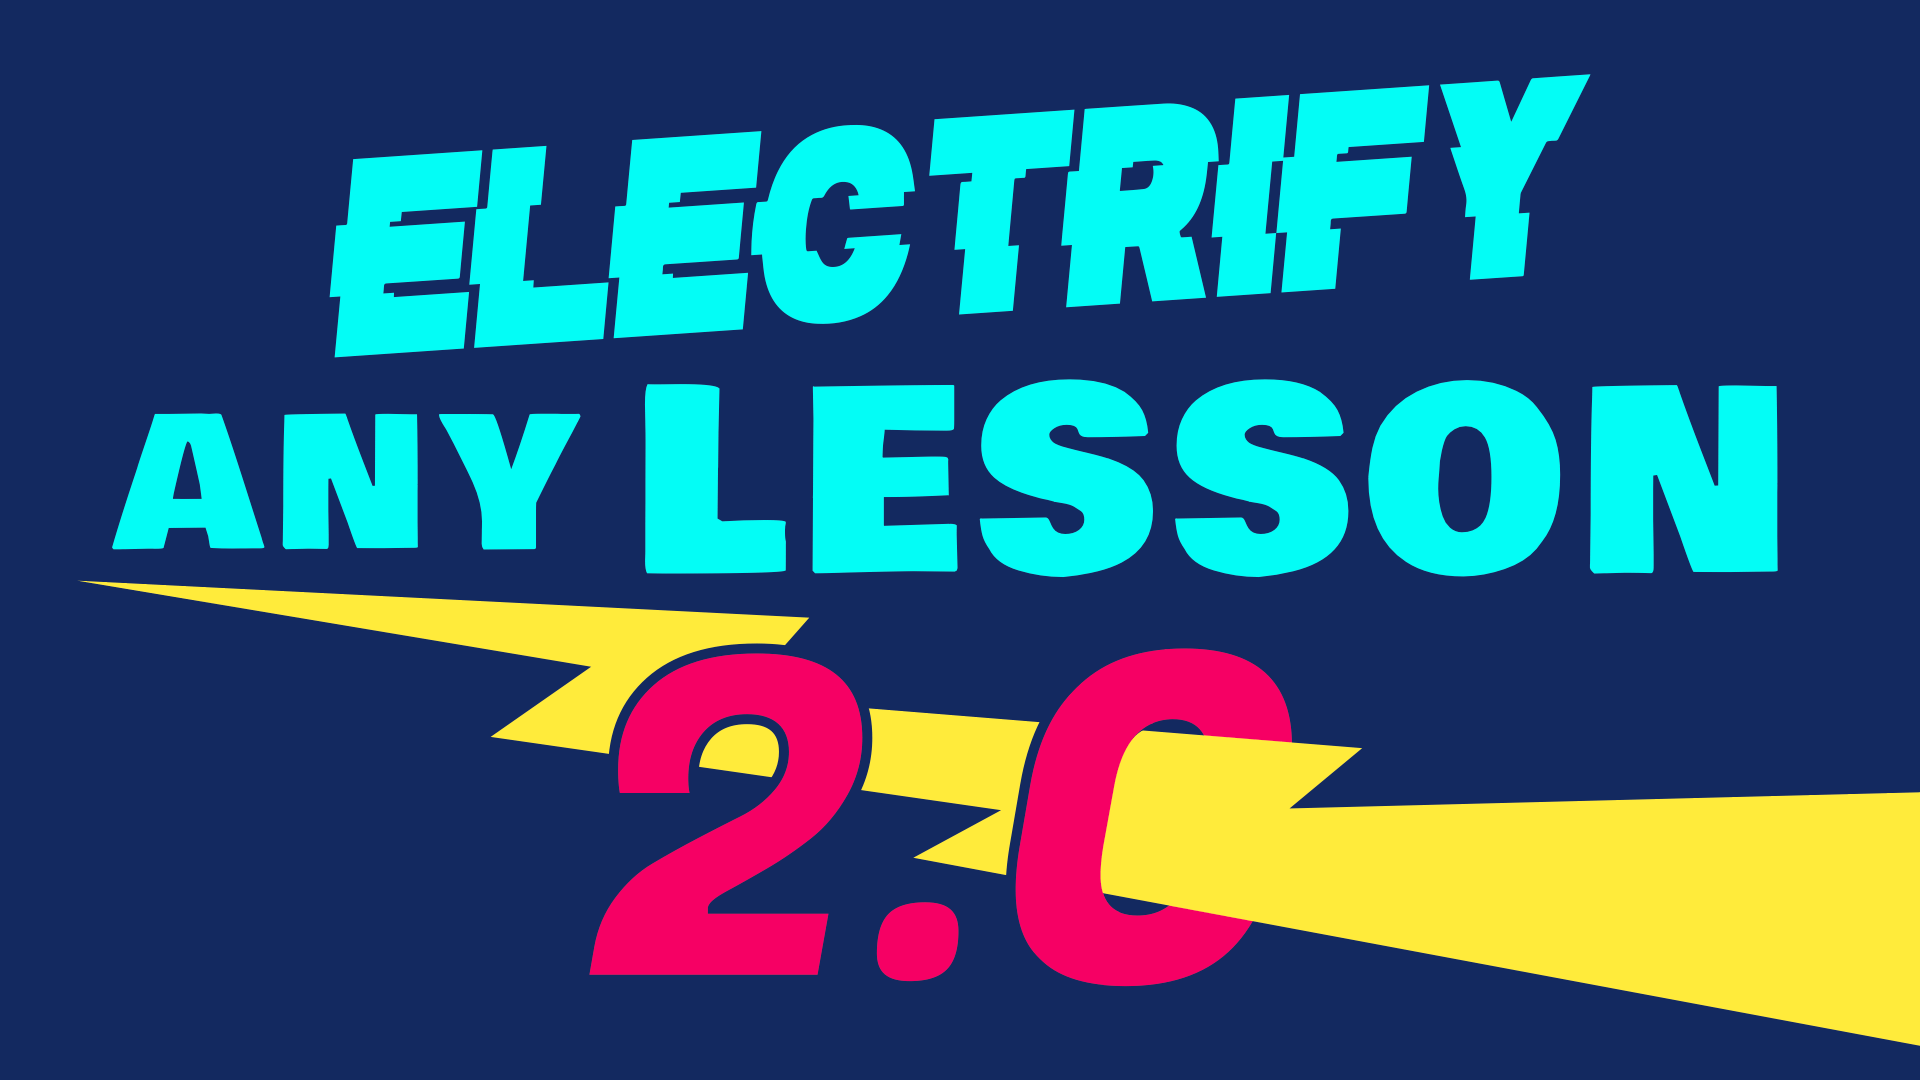
Tony Vincent’s most popular presentation is updated with all new ways to make learning irresistible. Experience Tony's new favorite lesson hooks, conversation starters, and tools to make any lesson extra special. Shockingly, these activities are low prep and can be done at a moment’s notice.
Curious what Tony presents in Electrify Any Lesson 1.0? Click here.

Simply enter a list (one item per line) into EmojiBulletList.com. Click Emojify and it will do its best to pair a relevant emoji with each item. Click an emoji to see more suggestions. Sometimes the results are disappointing, but you can paste the list and add your own emojis. Use emojified lists in Google Classroom, slideshows, assignments, social media, and anywhere you can enter text.
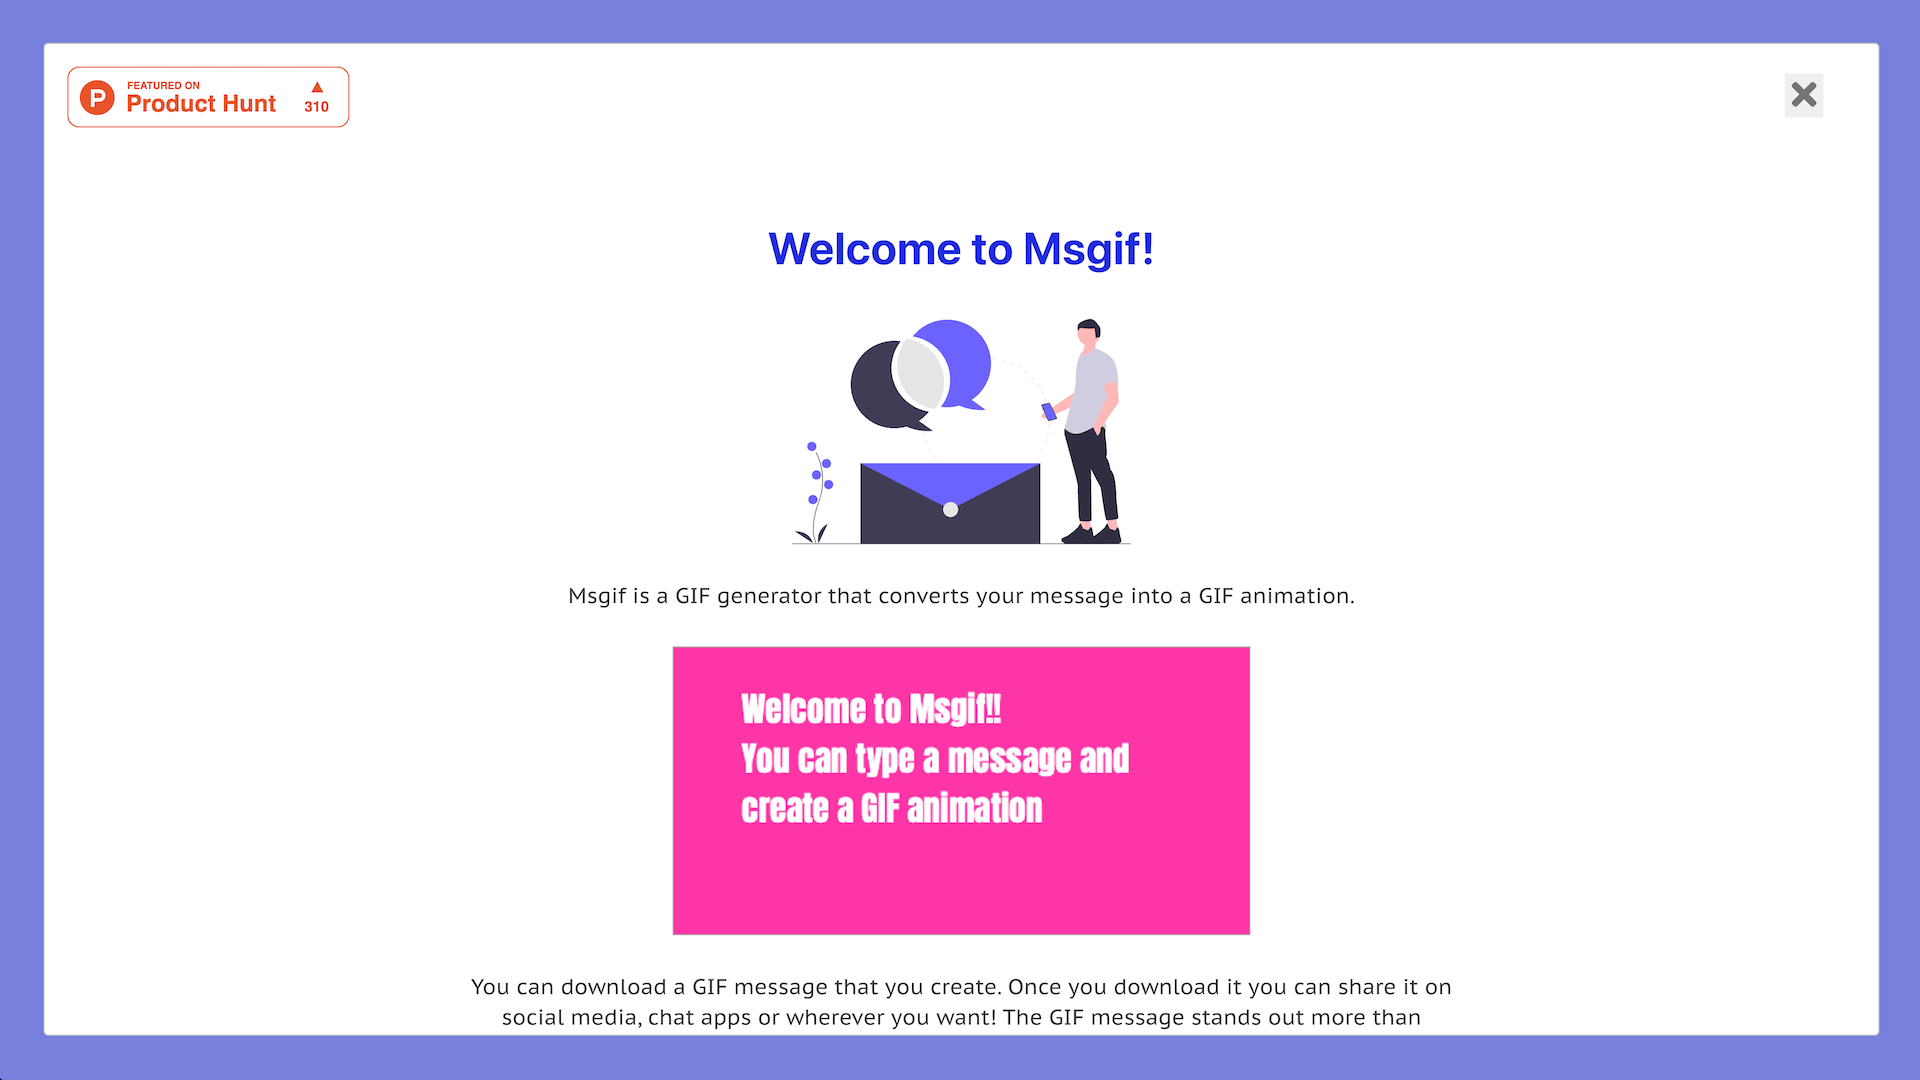
Create an animated GIF from the text you type with Msgif. Enter emojis for visuals and emphasis. You might consider adding extra spaces at the end of your message to make it stay on the screen longer.

StoryMoji from Eduprotocols show five buttons: Somebody, Wanted, But, So, and Then. Click a button makes a randomized emoji appear. The sequence and pictures can provide a framework for writing or telling a story. Somebody is the character, wanted is the goal or motivation, But is the conflict, So and Then lead to the resolution or outcome.

Bingo Baker is a free website where you can create online bingo cards by entering text or dragging images from your computer onto a grid. Bingo Baker provides a Play Link. Each time that link is accessed, a new board is generated with the text and images you entered. The web address for the Play Link works on desktops, laptops, tablets, and smartphones.
Bingo Baker provides a Call List you can use for when you host the Bingo Game. Bingo Baker does not keep score, so, as the host, you’ll need to check over winning cards yourself.
You can create boards of different sizes. So if you don’t have enough vocabulary words or questions to fill a 5x5 grid, you can make a 4x4 or 3x3 grid.

When playing a classroom competition like Jeopardy, you can use Crowd Buzzer to see who buzzed in first. Crowd Buzzer provides each student in your class a button they can click. Participants are ranked on how fast they buzzed in. To prevent students from buzzing in too early, the teacher/host can toggle the buzzers on and off.

A soundboard gives you an array of sound effects that you can play at a moment’s notice. Teachers can find handy apps and websites for playing sound effects and music during class. It’s exciting to draw out a reveal with a drumroll, celebrate with applause, and lighten the mood with crickets.
Candace Buchanan made her own soundboard using Google Slides. Try it out and bookmark it if you think you’ll use it. Candace’s clever use of Slides inspired me to create directions for making your own soundboard. You first need to add audio files to your Google Drive. Then in a new Google Slides document, insert the audio. You can arrange and label the sounds on the slide.Candace colorfully arranged hers with words and pictures.
To use your soundboard ,change the /edit in the Google Slide’s URL to /preview. This kind of link makes it possible to play each sound with a single click. Bookmark this /preview link so that you always have quick access to your soundboard. Of course, you an always edit the document to change the sounds, perhaps updating them for a lesson or unit.

Blur parts of an image and invite students to make educated guesses about what is blurred. You can go to canva.com and upload an image, which might be a photo, diagram, or illustration. Use the Blur effect and drag over the area(s) you’d like to obscure. You may need to go over an area multiple times for more blur. You can present the image full screen from Canva or you can download the image for inserting in a document or website.
Build curiosity and suspense by slowly revealing an image that’s hidden behind blue ink! Make a copy of the Jamboard document at learninginhand.com/scratchoff. Then set an image as the background. The image could be a photo, diagram, slide, words, or numbers—something connected to your lesson. While showing your screen to the class, erase some of the ink. Invite students to guess what’s hidden. Erase more ink and again invite guesses based on what’s showing. You can click the Clear Frame button when it’s time for the big reveal.

Get students thinking about your topic by replacing key words in a sentence or paragraph with rectangles or wavy lines. You can easily convert words to rectangles or wavy lines by changing the font to Redacted or Redacted Script. These fonts are Google Fonts, and are available for free inside of Google Workspace apps. The fonts can also be downloaded from fonts.google.com and used in other apps. It’s also easy to reveal the key words simply by changing the font back to normal.

CLOSEit is a free add-on for Google Docs. After it’s added, you can underline or highlight key words or phrases in a Google Doc. Then open the Add-ons menu and click CLOZEIt. You can choose to replace the underlining or highlighting with blanks, and a word bank is automatically generated and added to the end of your document. This works great as quick review activity, and might be even more effective as a blind introduction to a lesson or unit.

Whiteboard.fi is a free online whiteboard. The teacher creates a class and students join with a code. The teacher can see each student’s whiteboard and students can all see the teacher’s whiteboard. Students can combine drawings, text, and images on their whiteboards, and the teacher can show off a student’s whiteboard to the entire class. This tool is great for playing Reverse Pictionary and Caption This. It can also help with retrieval practice by giving learning a place to do a brain dump.
The paid version enables the teacher to save whiteboards for future use and allows for teacher feedback.

Meredith Akers writes about using memes with students. She provides a Google Drawing document that students can copy and use to create their own memes. Teachers might first copy Meredith’s document and replace the photos for ones that are relevant to the current unit of study.
By the way, the most common font used in memes is Impact. You can use word art to give text a white fill and black outline.
In a Morph Mystery students see a zoomed-in part of a photo on the classroom display. After making some guesses about what the photo might be (and the reasons for their guesses), PowerPoint pans to show a different part of the photo. After more discussion, the image is again changed on screen, perhaps zooming out a bit. Then more discussion and more clues until the final reveal, which is zoomed out to show the complete picture.
The panning and zooming effect is pretty cool, and it’s easy to achieve with PowerPoint. First, a teacher finds a photo of an object, location, action, or something that is connected to the lesson. That photo is inserted on a slide. The slide is duplicated. The image is enlarged on the duplicate and then that slide is duplicated again. Changes are made before duplicating again. After you’ve got enough slides, select all of them and apply the Morph transition. Arrange the slides in an order that gradually gives clues, leaving the original photo for last. Play the slide show and let the guessing begin!
Want to do this in Keynote? Follow the same steps. There’s not a transition in Keynote called Morph, but there is Magic Move, which does the same thing. Want to do this in Google Slides? Sorry, there’s not a Morph or Magic Move transition. You can do the same activity, but you won’t get the cool effect of panning across a photo.
Generous educators have shared templates for so many different kinds of learning activities. Esther Park has dozens of Jamboard and Google Slides templates. Templates for Teachers is curated by Beth Kingsley and Sarah Kiefer and it’s full of mostly Google Slides templates. Remember, you can download a Google Slides document as a .PPT file and the open it in PowerPoint or Keynote.

Word.Rodeo is like Wordle, except you can create your own puzzles to share. Puzzles can be be as short as 3 letters and as long as 10 letters. Advanced options include adding a hint and allowing up to 12 guesses. Languages include English, German, French, and Polish. Read about other Wordle-inspired games.