Presentation Resources from GAETC 2022
Multi-track editing apps like WeVideo, iMovie, and OpenShot enable you to stack video, audio, and images on different tracks to play at the same time. Learn how to cut out mistakes, zoom to focus attention, add picture-in-picture, cut to compelling visuals, and end music at just the right moment. Stacking tracks can help you craft your message, and Tony has several techniques and tricks that can help you reach your audience. These techniques can certainly be applied in other video editing platforms.
This video gives you a peek at how I record most of my instructional videos. The video was edited with OpenShot using techniques demonstrated in this presentation.
A lavalier or lapel microphone captures audio closer the source, making it sound better.
This chart lists some popular video editors and compares their platforms, capabilities, options, and prices.
Enhance voices in your videos with Adobe Express Podcast. You can first use TinyWow’s Extract Audio from Video tool to download an MP3 of the video. Upload that MP3 to Adobe Express Podcast and then download the enhanced version. You will then need to use an editor like OpenShotwww.openshot.org/ to mute the audio in the original video and add the enhanced audio.
OpenShot is a free and open source multi-track video editor. It’s available for Linus, macOS, Windows, and Chromebooks. It’s somewhat clunky software, so you may want to use iMovie, WeVideo, Camtasia, or other apps you have access to and experience with.
Some tips for using OpenShot:
If you have problems with opening or crashing, try installing a daily build.
Create a folder where you keep all the video clips, audio files, and images you’ve added to an OpenShot Project. Do not delete this folder, as OpenShot does not copy the media files into your project.
OpenShot may crash while you’re using it. Save often so that you don’t lose your work.
Right-click an audio or video clip and choose Display → Show Waveform.
Go to View → Views and choose Advanced view to show the properties and transition panels.
Keep in mind that the quality of your exported video will be much better than what you see in the editor’s preview window.
Stuck or confused while working in OpenShot? OpenShot has an extensive User Guide. Additionally, you can search YouTube for tutorials. There are lots of them.
For best results, export your project as 1080p 30fps.
This video demonstrates ways to take out what’s unnecessary and maintain the pace.
Techniques for keeping your video tight are trimming excess footage, punching in and out, jump cutting, and increasing a clip’s speed.
The hand wipe transition involves trimming clips and aligning them so that the hand motions match. Make sure the second clip is on a track above the first clip, and give the second clip at wipe transition at the start. Add a whoosh sound for a cool effect.
You can build an exciting “fly in with a whoosh” transition in Openshot. With a clip selected, move the play head to half a second from the end of the clip. In the Properties panel, right-click Location X and choose Insert Keyframe. Also right-click Location Y and choose Insert Keyframe. Then position the play head to the end of the clip. Drag the video preview off the screen. Add a whoosh sound effect and center it above the middle of the keyframes.
Text on the screen benefits everyone. Read How Video Captions Foster Equity.
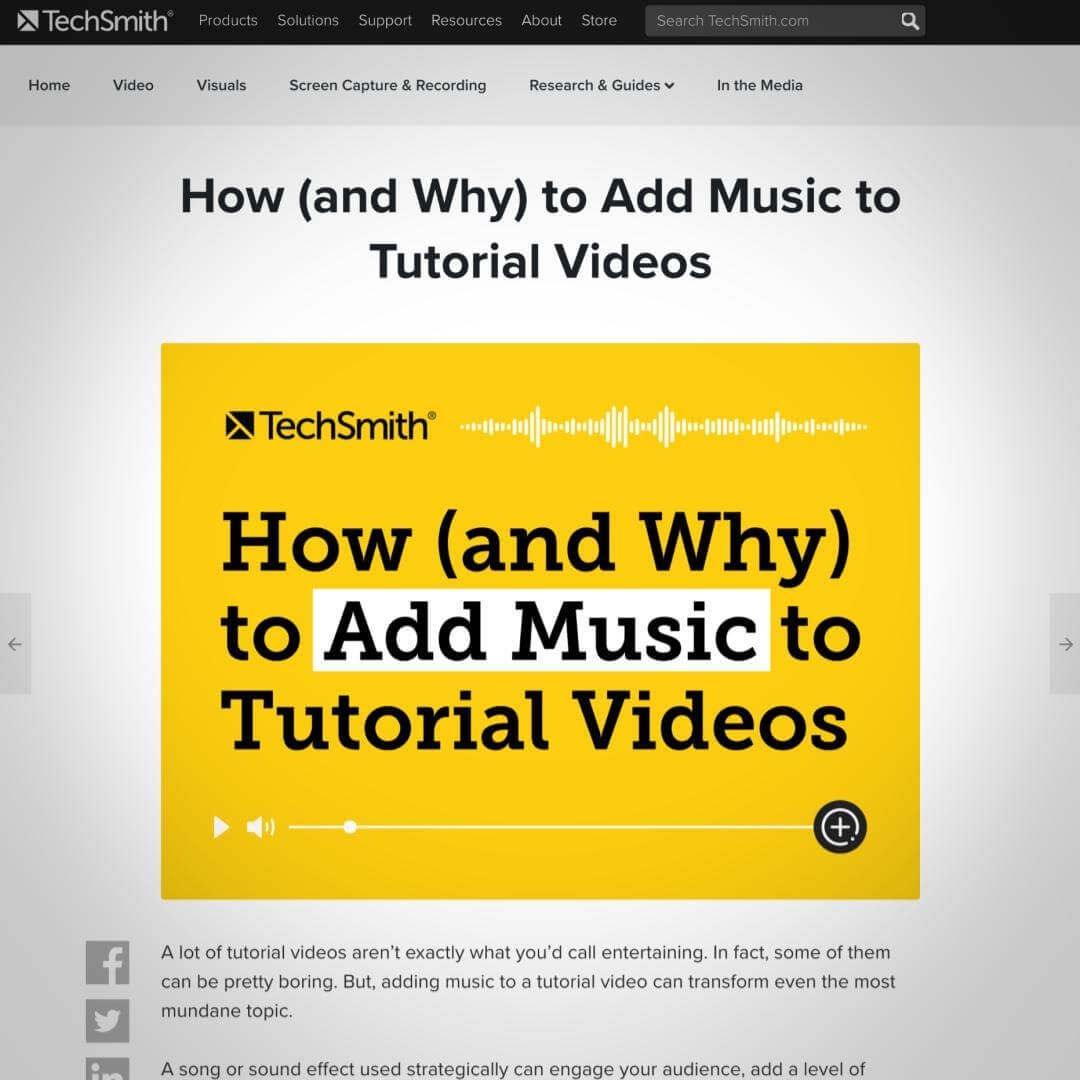
There are lots of good reasons to include music in your videos. Read How (and Why) to Add Music to Tutorial Videos.
Search YouTube Audio Library, Mixkit, and Pixabay for Creative Commons 0/Public Domain sound effects.
This video is a compilation of the demonstrations in the presentation. The techniques and tips are demonstrated in the OpenShot app and can be applied to other editing apps. Of course, they make more sense if you attended the presentation.
00:06 Combine audio and video in OpenShot
02:04 Show waveforms and trim a clip
02:21 Make a jumpcut
03:27 Punch in
05:28 Set keyframes to make a zooming animation
06:38 Layer video for picture-in-picture
07:20 Add B-roll
08:43 Show a skip in time with a dissolve transition
09:41 Fade out and fade in to indicate new segment
10:28 Transitioning with your hand
11:18 Fly in with a whoosh transition
12:00 Smile with a ding and a sparkle
12:59 Add your script to YouTube's captions
13:31 Insert lower third from Google Slides and fade it out
14:18 Use multiple images to have words appear individually
14:30 Match the end of a music clip with the end of the video