


Collect information, homework, and exit tickets with Google Forms. Forms is part of Google Drive, and educators love how a form’s responses feed directly into a spreadsheet for easy access and analysis. You don’t have to start your forms and spreadsheets from scratch because there are useful templates and helpful add-ons. Teachers can create assessments, surveys, checkout forms, and self-grading quizzes. Note: This page has not yet been updated to reflect the new Google Forms.


Get a Google Account
You probably already have one. If not, sign up for a free one at accounts.google.com/signup. A Google Account gives you access to Google products like Google Drive, Gmail, YouTube, and more with a single username and password. Google Forms and Google Sheets are part of Google Drive.

Start a New Form
Go to forms.google.com and click the red + icon to create a new form. Click Untitled form and give it a descriptive name. Optionally, add a description of the form. It’s probably best to use the Google Chrome browser, but any desktop browser should work ok.

Edit Your First Question
The first question is already started for you. Enter a Question Title and optionally add any text you want to display below the question as Help Text. Select a Question Type. You can choose from Text, Paragraph Text, Multiple choice, Checkboxes, Choose from a list, Scale, Grid, Date, and Time. If you click Required question, the form cannot be submitted until this question is answered.

Make It a Requirement
If you check Required question, the form cannot be submitted until this question is answered. If answering the question is optional, then do not check this box.

Add More Questions
You probably want your form to have more than one question. Click the arrow next to Add item and choose another question type. You can choose to make this question required. Click the arrow next to Add item to, you guesses it, add another question.

Reorder Questions
It’s simple to change the order of your questions. Simply click and drag the question that is currently selected up or down the screen.

Randomize Question Order (Optional)
You can choose to shuffle the question order under Form Settings at the top of the page.

Text Field Data Check (Optional)
Google Forms can validate data submitted for a question. With a Text question selected, click Advanced settings and check Data Validation. You can specify that submissions are an email address, a number falls within a specific range, or that the text contains or does not contain specific wording.

Add Layout Items (Optional)
Click the arrow next to Add item to insert a Section header, Page break, Image, or Video. Inserted videos must be on YouTube.

Confirmation Page Options
You can change the message people see after they submit a form. Change the text under Confirmation page to be anything you’d like. If you include a URL, it will be hot linked. You also have the option to show the link to submit another response. And, if you want you can choose to publish a link to the results and/or allow responders to edit their responses after submitting.

Make the Form Prettier
Clicking the Change theme button near the top of the page will open the Change theme panel. Here you can choose a default theme. You can click the Customize button under your selected theme’s button to change the Header image, fonts, and background.

Go Back to Editing
Click the Edit questions button near the top of the page to make more changes to your form. You won’t see the theme options you just selected when editing questions. But don’t worry, your live form will have the color, fonts, and background you chose.

Let’s See It!
To view your live form, click the View live form button near the top of the screen. A new window will open and this is exactly what people will see when they visit your form.

Get the Link
Are you happy with your form? Are you ready to give the link to others? Click the blue Send form button (you’ll need to go back to editing your form before you see this button). The link to share is really long, so check the Short Url box to get a better web link. Copy this link. Paste it into PowerPoint, your website, a document, or write it somewhere. This is the link people follow to complete your form.

Find Your Form Later
Forms as automatically saved as you go. If you close all windows, you can come back to the form later. Simply go to drive.google.com to find your form to view, edit, or delete it.


See Responses in a Spreadsheet
Clicking the View responses button near the top of the screen when you are editing your form will open a new window. The window will be a Google Spreadsheet with a row for each responses your form received. This spreadsheet is updated in realtime. Notice each entry has a Timestamp so you can tell exactly when it was submitted.

See a Visual Summary
From the Editing Questions screen, click the Responses menu and choose Show Summary of Responses. From the Responses Spreadsheet, click the Form menu and choose Show summary of responses. A new window will open with graphs and charts.


Text Wrapping
If don't like the way the text is fitted into the cells in your Responses Spreadsheet, select cells, rows, or columns and then use the Text Wrapping button to change to Overflow, Wrap, or Clip.

Color Coding
You can change the color of the text or background color of any cells in your Responses Spreadsheet. Simply select a cell and then use the Text Color or Fill Color buttons near the top of the page.

Got a Comment?
Add a text comment to any cell. Right click inside of a cell and choose Insert comment. View comments by clicking the Comments button near the top right corner of the screen.

Reset the Summary
Want to use the same form, but for a different class, group, or day? While on the Edit questions screen, click the Responses menu and choose Delete all responses. This resets what will be shown in the Summary of Responses but does not delete previous responses from the spreadsheet.

Use Formulas
The Responses spreadsheet is truly a spreadsheet. You can use formulas like you would in Excel, so you do things like add and average a column of submitted numbers.


Make a Copy
Don't take the time to recreate a form similar to one you already made from scratch. Instead, with the form you want to copy opened, click File and choose Make a copy.

Turn Off Your Form (and Turn Back On Again)
You can deactivate your form between classes. While editing the form, click the Responses menu and click “Accepting responses.” It will then change to “Not accepting responses.” Click again to reactive the form.

Print the Form
You can print your form for respondents to fill out on paper. While editing a form, click the File menu and choose Print. The printed version will have lines for respondents to write on. Of course, their responses on paper are not recorded in the response spreadsheet (they would need to be entered manually into a live form).
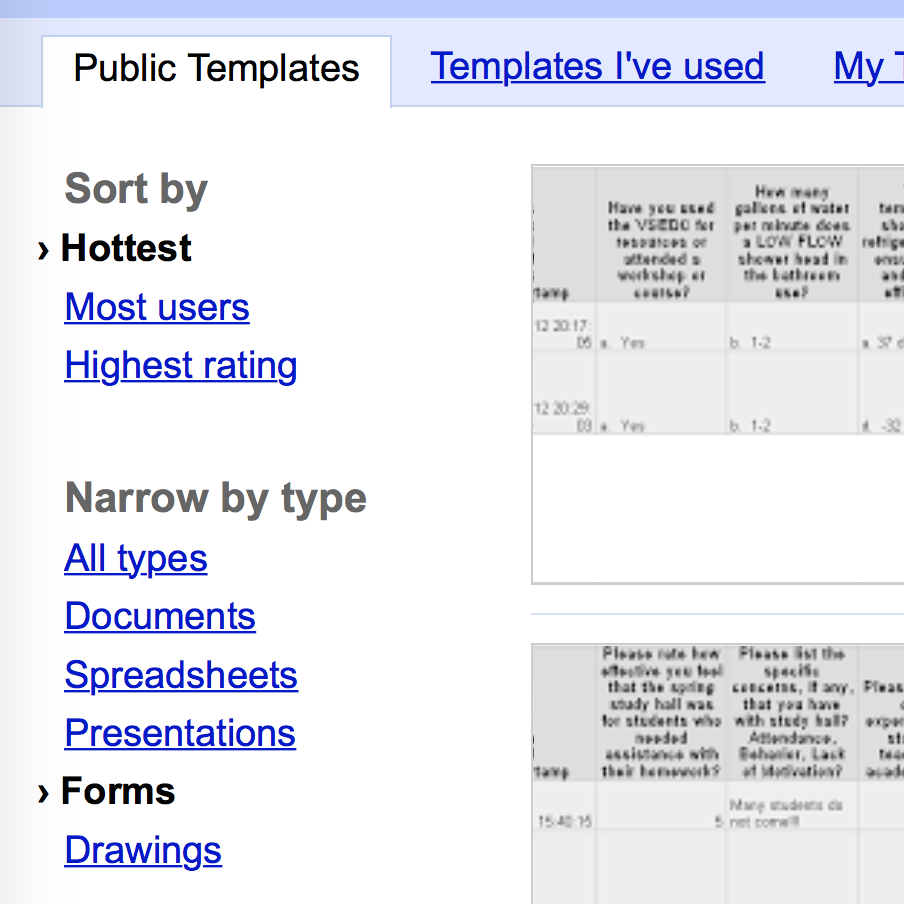
Find a Template
Many educators have shared forms they use as a template, so you can make a copy, edit, and use it yourself. To browse and search public templates, go to docs.google.com/templates. Be sure Forms is selected under Narrow by type.

Receive and Email Notifications
When viewing the Responses spreadsheet for a Form, click Tools and choose Notification rules. Click a circle if you'd like to receive an email each time a change is made or each time a user submits a form as a daily digest or after each submission.

Embed the Form on Your Website
When editing a form, click File and choose Embed. Google Forms shows HTML code you can copy and paste into your website to embed it.

Pre-Populate a Form with Answers
You can send respondents a form with some of the fields already filled in. While editing your form, click the Responses menu and choose Get pre-filled URL. Fill in any answers you'd like to make the default and click Submit. Use the web link provided near the top of the page to share the pre-filled form with others.

Differentiate Your Form with Pages
Multiple Choice and Choose from a List question types can be used to direct respondents to a specific page of your form. This means you can send students to an explanation page if they get an answer wrong. Or, in a survey, it can be used to skip sections that are not relevant to the respondent.

Write Choose Your Own Adventure Stories
Students can use the ability to send respondents to a specific page to publish interactive stories. Read the Crazy Hairdo example. Writers can download the story organizer PDF and use this Forms template to publish it.

Make a Game Buzzer
When playing a classroom competition like Jeopardy, you can use a Google Form as a gameshow "buzzer." That form only needs to ask for a name. Each student or group will need some sort of internet connected device. Students go to your form, type in their name, and wait for the question. You can view the Responses spreadsheet to see who submitted their name first. To prevent students "buzzing" in too early, you can click the Responses menu and toggle Accepting Responses off and on.


Getting Add-ons
Add-ons can bring additional functionality to a Google Form. While editing a form you can browse and install add-ons by clicking the Add-ons menu and choosing Get add-ons. You can use the search box. To use an add-on, click its blue plus button and accept the terms. After its installed, you can find its options under the Add-ons menu.

Plot Your Data on a Map
Mapping Sheets allows you to copy and paste your data into a spreadsheet. It can then generate a map with locations from your data plotted on it. You can easily copy location data submitted through a spreadsheet and paste it into a data sheet created using Mapping Sheets. Watch the video for instructions.

Use an Answer Key to Grade Responses
Flubaroo is an add-on which lets you quickly grade and analyze student performance on multiple choice and fill-in assignments. You see scores for each student and see the class performance on each question. To use Flubaroo, create your form and add questions. Go to your live form and enter the correct answer for each question and submit. Your submission will be used as the answer key. Then go back to editing your form and click View Responses and get Flubaroo as an add-on. Then click the Add-ons menu and choose Flubaroo.

Another Option for Grading Submissions
Super Quiz works a lot like Flubaroo. By completing the quiz once with an answer key, all future submissions are automatically graded correct or incorrect. You can get a break down of class understanding and a list of incorrect students for each question. You can set Super Quiz to automatically email a student feedback upon completion of the form.

Automatically Turn Off a Form
formLimiter automatically sets Google Forms to stop accepting responses after a maximum number of responses, at a specific date and time, or when a spreadsheet cell contains a specified value. Great for time-bound assignments, event registrations with limited seats, or other first-come, first-served signup scenarios.

Remove Choices After They’ve Been Used
Choice Eliminator will eliminate an option from a multiple choice, list, or checkbox question after a user has submitted it. Great for signing up for time slots or having students choose topics without doubling up.

Check In and Check Out System
CheckItOut create one question for items that are IN and another that are OUT. Items will be moved between the questions on submit. This allows a for a very easy check in/out form. This is great for signing out equipment from the library, or even classroom cameras. Other questions can be added to the question sets so that you can capture any information that you would like.

Include Graphs and Complex Math
g(Math) can create graphs (including plotting points), statistical displays, and write complex math directly in your Form. Create graphs and complex math directly in the sidebar and insert them as Form items. You can also deploy a Form to allow responders to craft responses using g(Math) tools!


Start a New Sheet
Go to sheets.google.com to create a new spreadsheet, and click the plus button to add a new sheet. Click Untitled spreadsheet and give it a descriptive name. It’s probably best to use the Google Chrome browser, but any desktop browser should work ok.

Working with a Spreadsheet
Google Sheets works a lot like Microsoft Excel. You can insert numbers, text, and formulas into each cell. You can change the color of the text and background color of each row, column, or cell. You can even import existing .xls spreasheets by clicking the File menu and choosing Open.

Share It
You can invite collaborators and get a shareable link to the spreadsheet by clicking the blue Share button.

Embed the Sheet on Your Website
When editing a spreadsheet, click File and choose Publish to the web. Click the Embed option and click Publish. Google Sheets shows HTML code you can copy and paste into your website to embed it.

Find a Template
Many educators have shared spreadsheets they use as a template, so you can make a copy, edit, and use it yourself. To browse and search public templates, go to docs.google.com/templates. Be sure Spreadsheets is selected under Narrow by type.
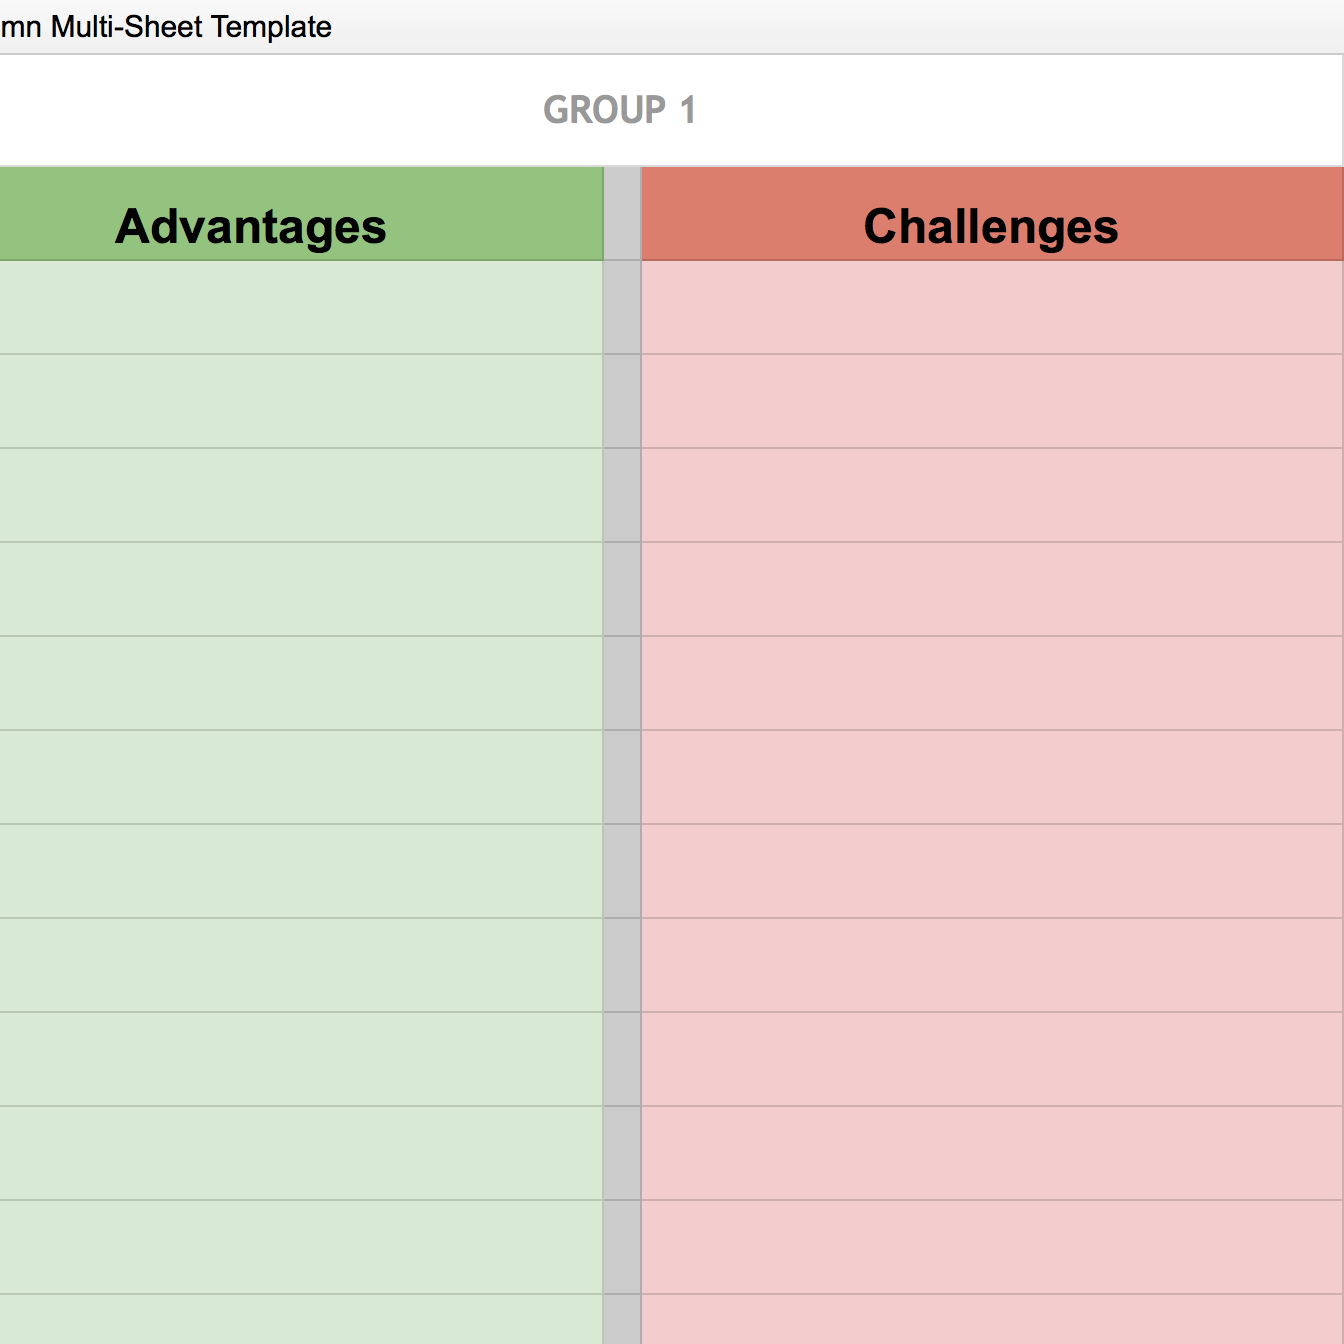
Two-Column Template
You can make a copy of Tony Vincent’s two-column collaborative template. Assign each group of students a number and they’ll brainstorm on that tab at the bottom of the page. After brainstorming, invite groups to click other groups’ tabs to see what they came up with. When using the template, be sure to click the Share button, click Get shareable link, and allow anyone with the link to edit.

Google Sheets Rubric Template
Follow the directions and copy the spreadsheets provided by Alice Keeler. It might be a little complicated to set up, but once you get going, it looks great because you import your student roster right into the template.

Spreadsheet Add-Ons
Add-ons can bring additional functionality to a Google Spreadsheet. While editing a sheet you can browse and install add-ons by clicking the Add-ons menu and choosing Get add-ons. You can use the search box. To use an add-on, click its blue plus button and accept the terms. After its installed, you can find its options under the Add-ons menu. For example, Charts allows you to insert a graph right into your spreadsheets (like you can in Microsoft Excel).

Send Personalized Emails from a Google Sheet
Send emails from a Google Sheet using the formMule add-on. Tony Vincent uses this to collect reflections through a form that he later emails back to the submitters in the future.

Flash Cards and Quiz Shows
Easily turn a Google Sheet into online flashcards or a quiz show with Flippity. Using a template they provide, you enter as many terms and descriptions as you’d like. You then provide Flippity with a link to your published spreadsheet and it creates a set of online flashcards or a quiz show.

How to Make Your Spreadsheets Less Terrible
Watch this animation to see how to remove colors, borders, and repetition to make a spreadsheet look better and easier to read.


Google Forms Cheat Sheet
Shake Up Learning provides a four page PDF that explains many of the options when creating a Google Form.

Interesting Ways
Click through 80+ slides that were collaboratively produced by teachers to share ways to use Google Forms in the classroom.