
Boardous Review: Online Tutoring Platform + 10% Off Promo Code
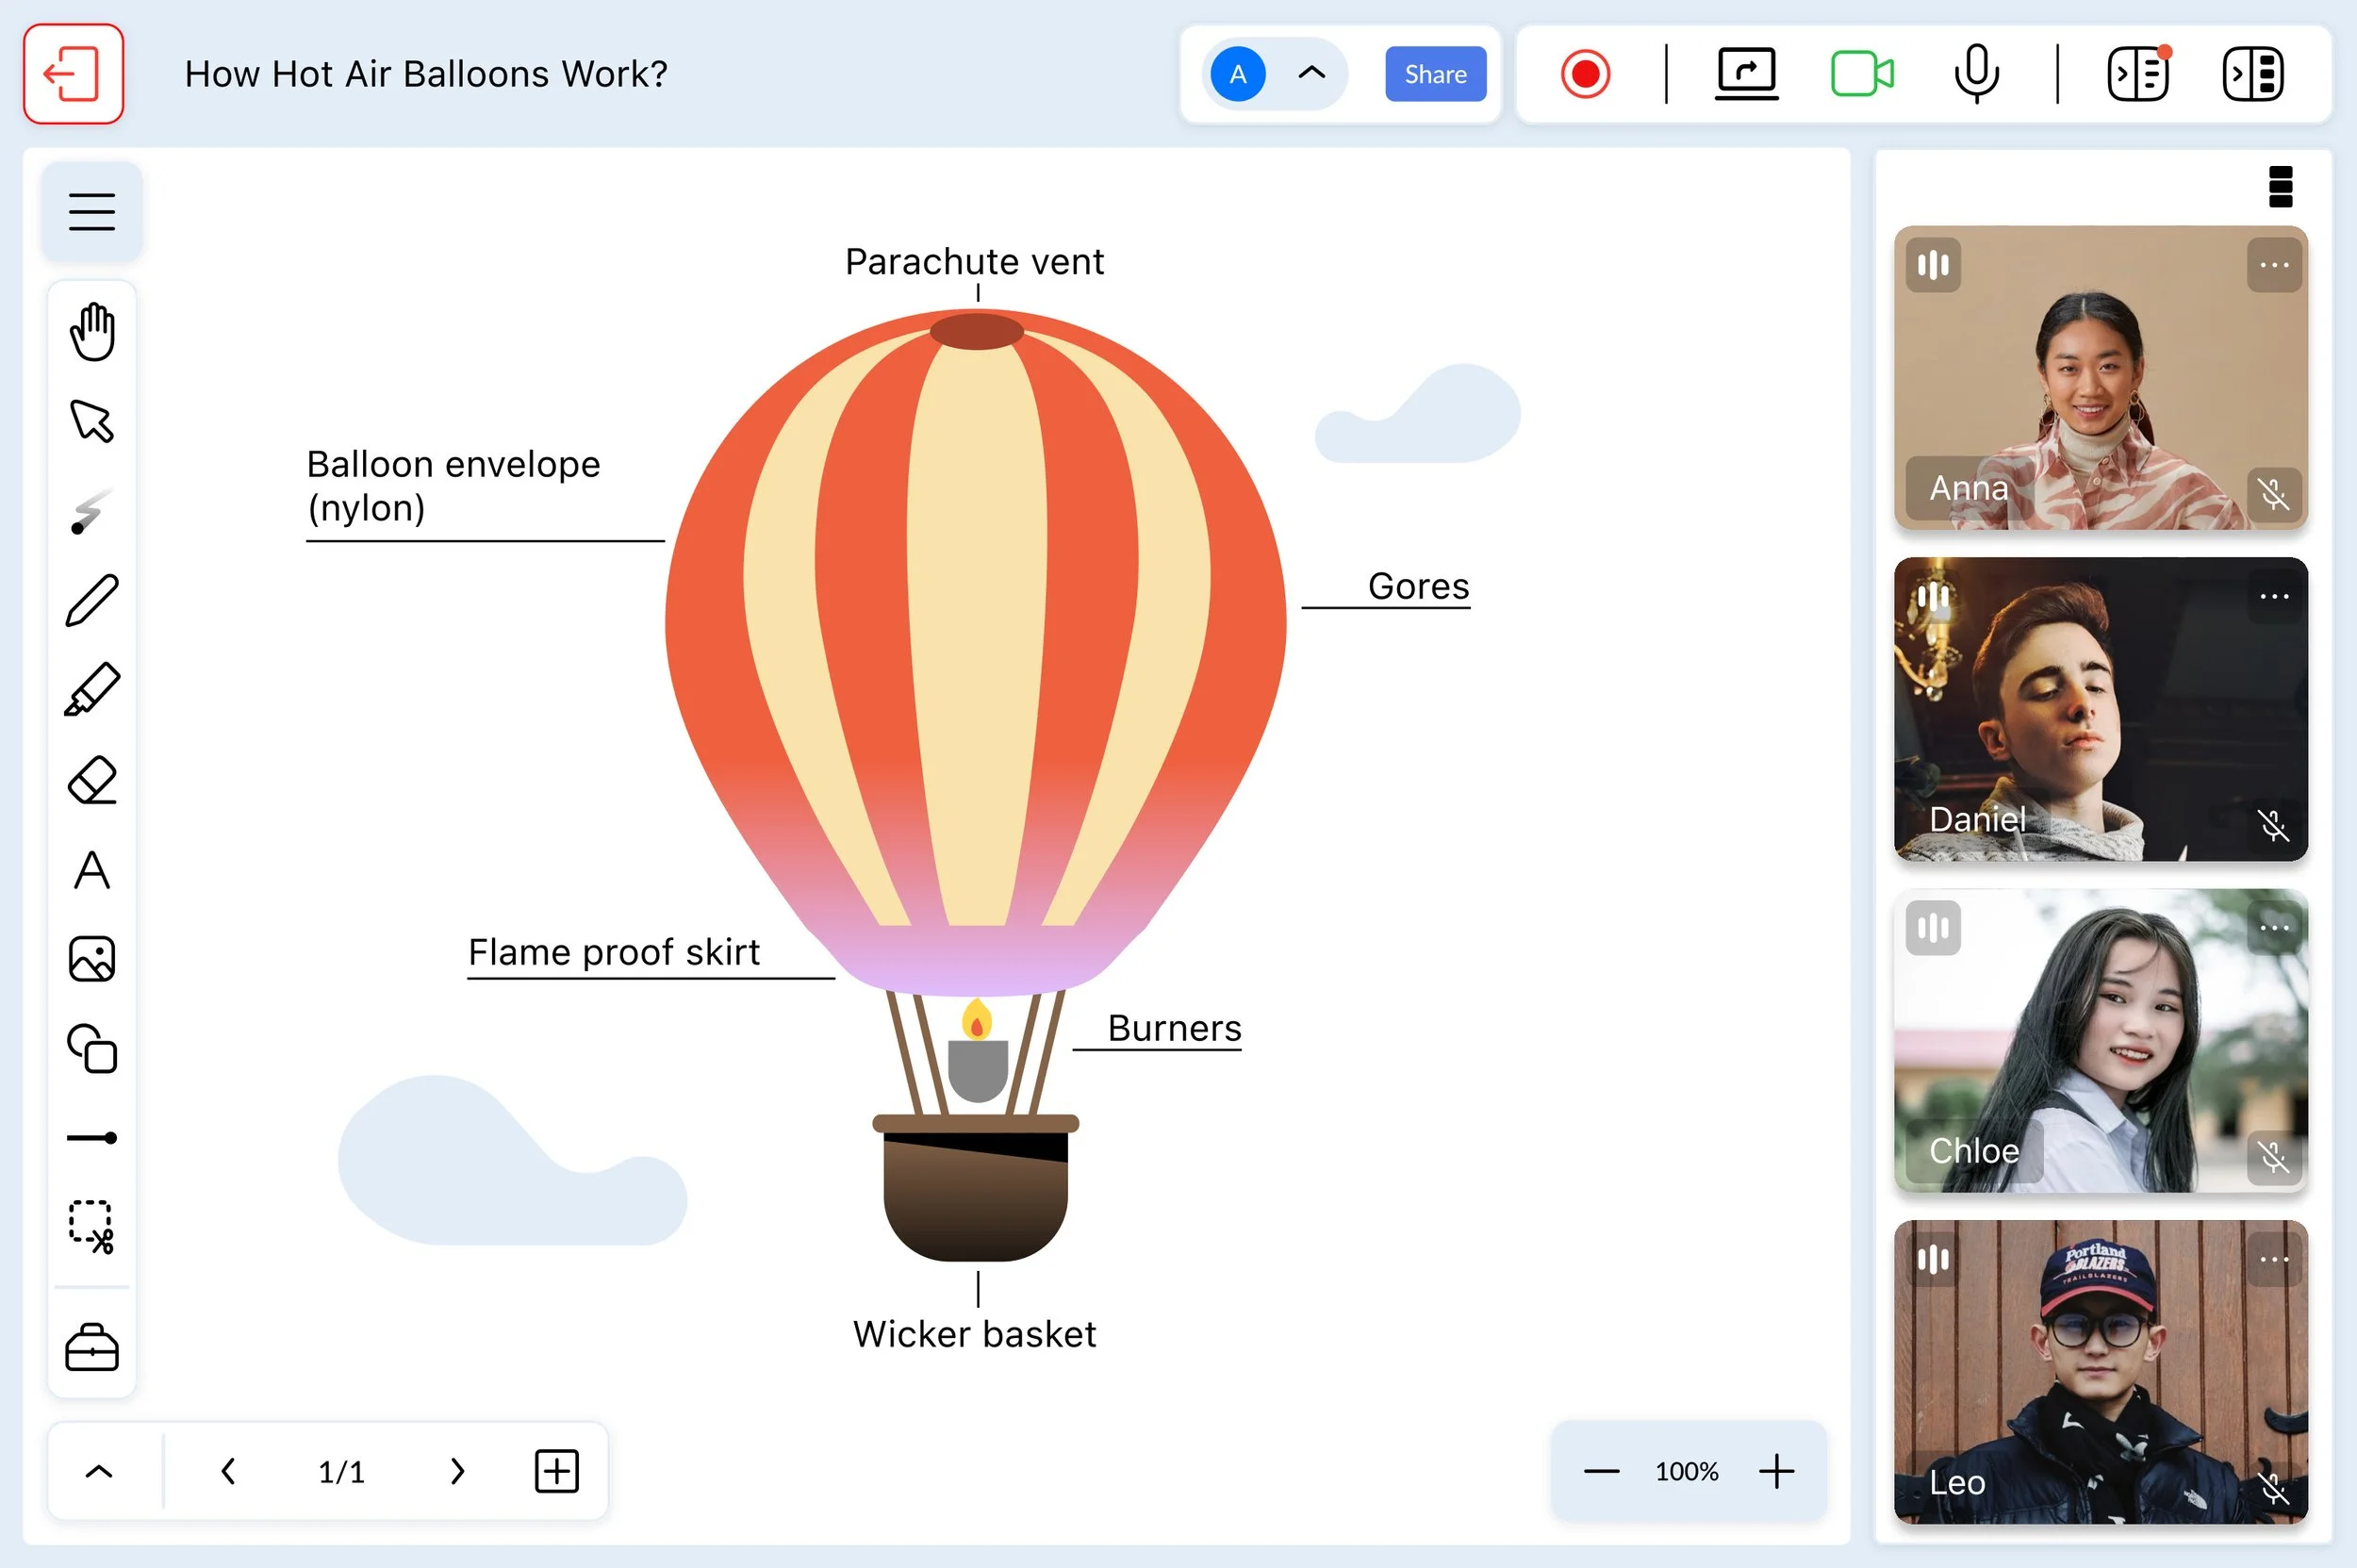
Boardous combines scheduling, video calls, collaborative whiteboards, lesson templates, messaging, billing, and lesson reports in a single tutoring platform.
Rapid PD Recaps with AI
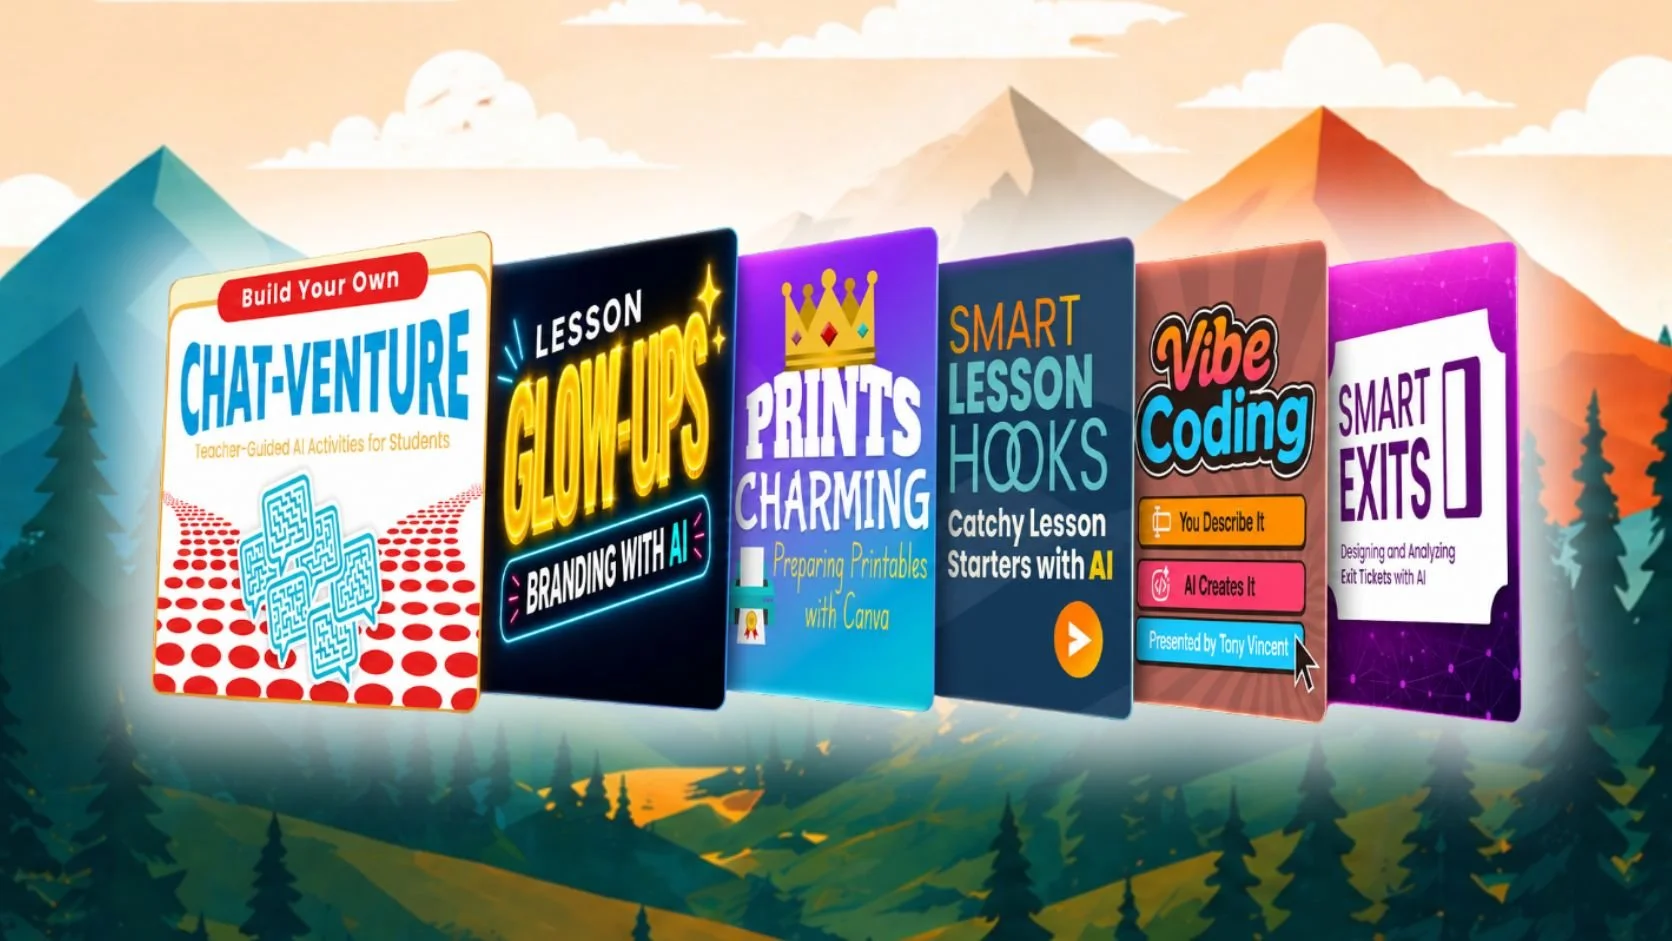
Read recaps of my six presentations for Camp Plug and Play 20.0. The theme for this online PDF even was “It’s Time for an Upgrade,” and focused on creative uses of technology to improve lessons and units.

Even More Digital Snacks
Discover a curated collection of free, browser-based "Digital Snacks" designed to help students reset and refocus through creative, physical, and relaxing brain breaks that require no logins.
Preload Learning Prompts for Students in Google Gemini
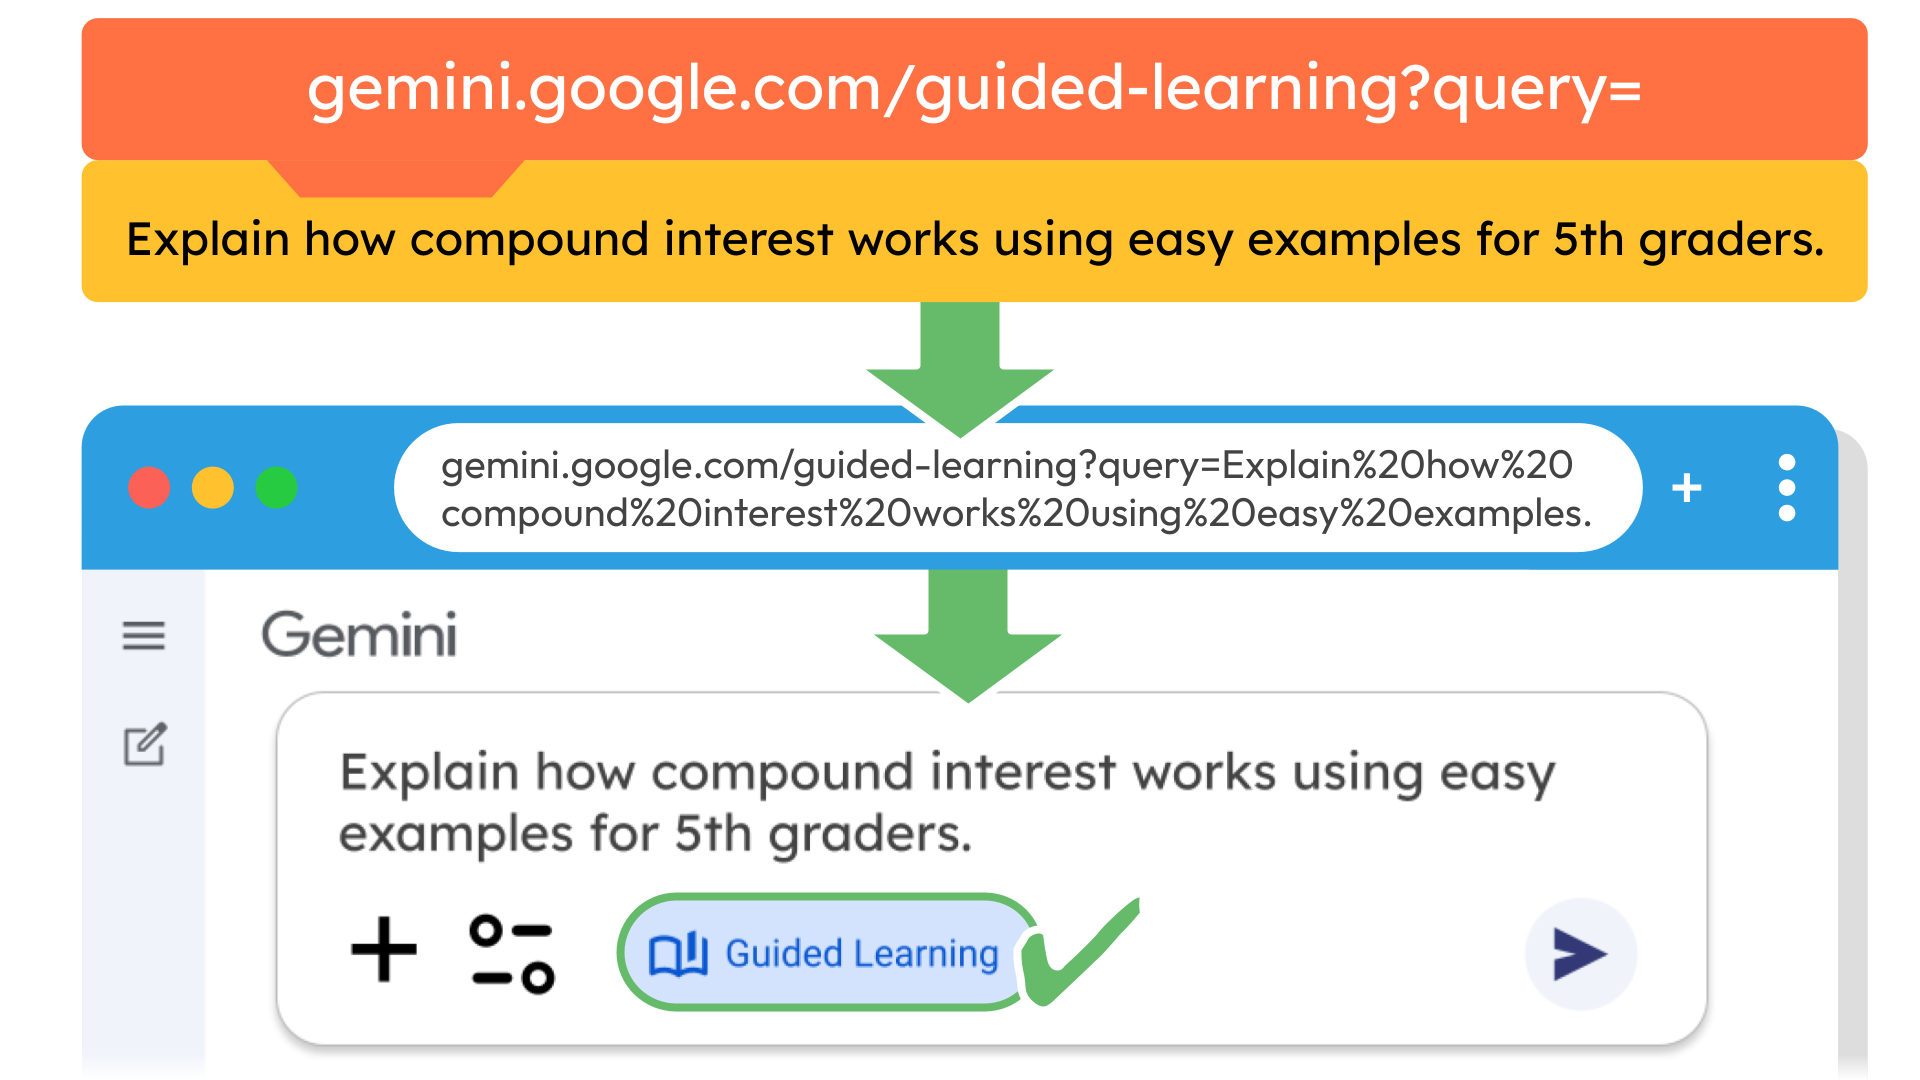
Did you know you can give students a link that auto-fills a prompt in Gemini? Learn the simple URL formula to preload topics and trigger Guided Learning mode instantly.
Go from PDF to a complete classroom Jeopardy experience with Factile
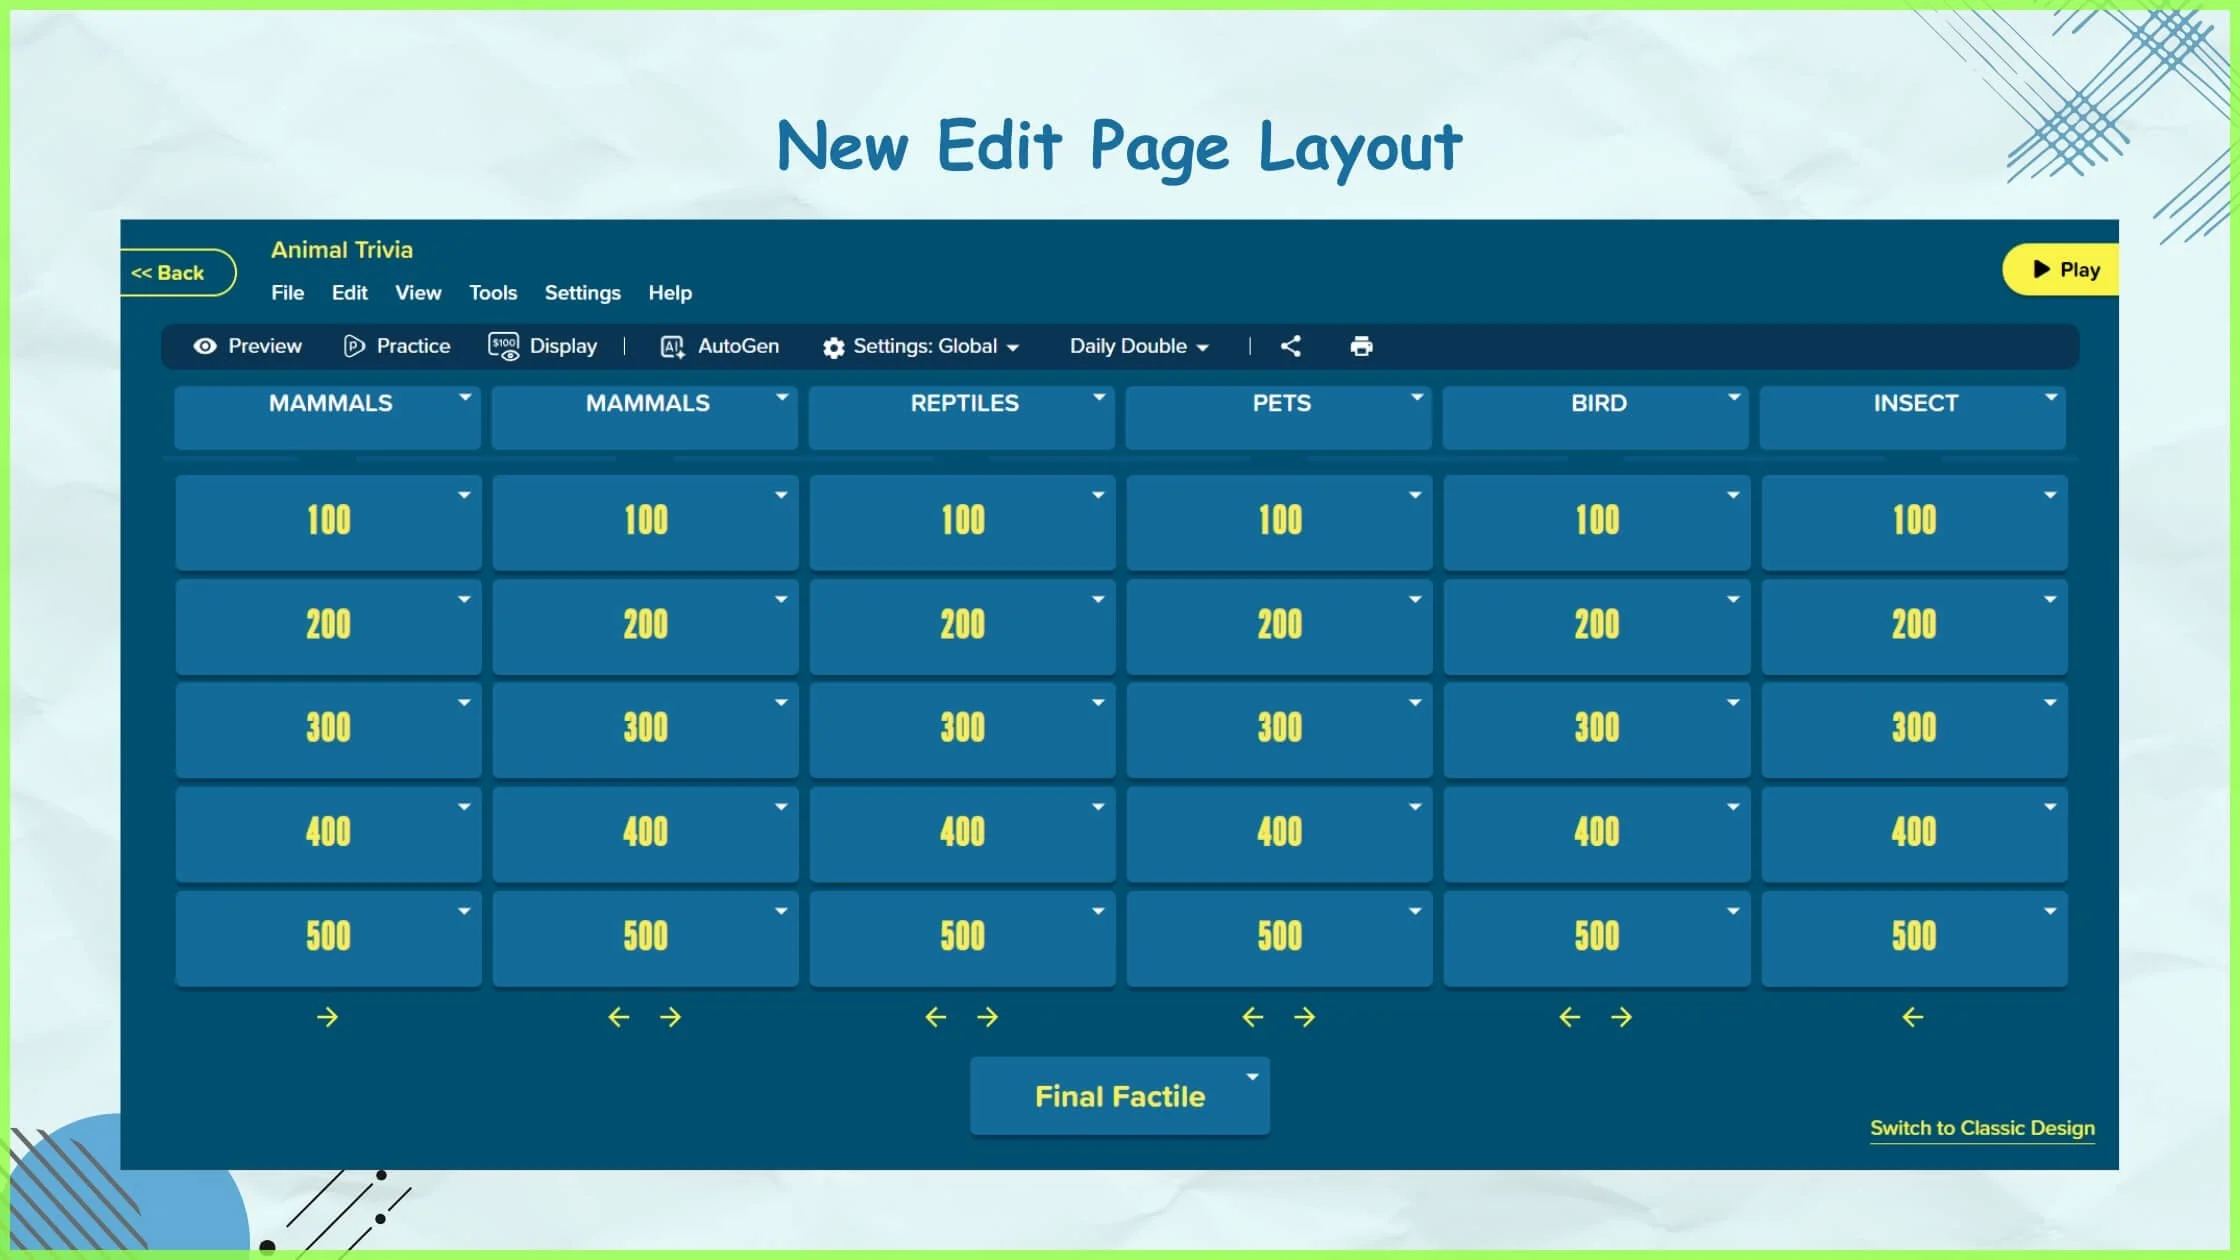
The custom Jeopardy game maker keep getting better with features like buzz-in shuffle, games from PDFs, and a redesigned game builder.
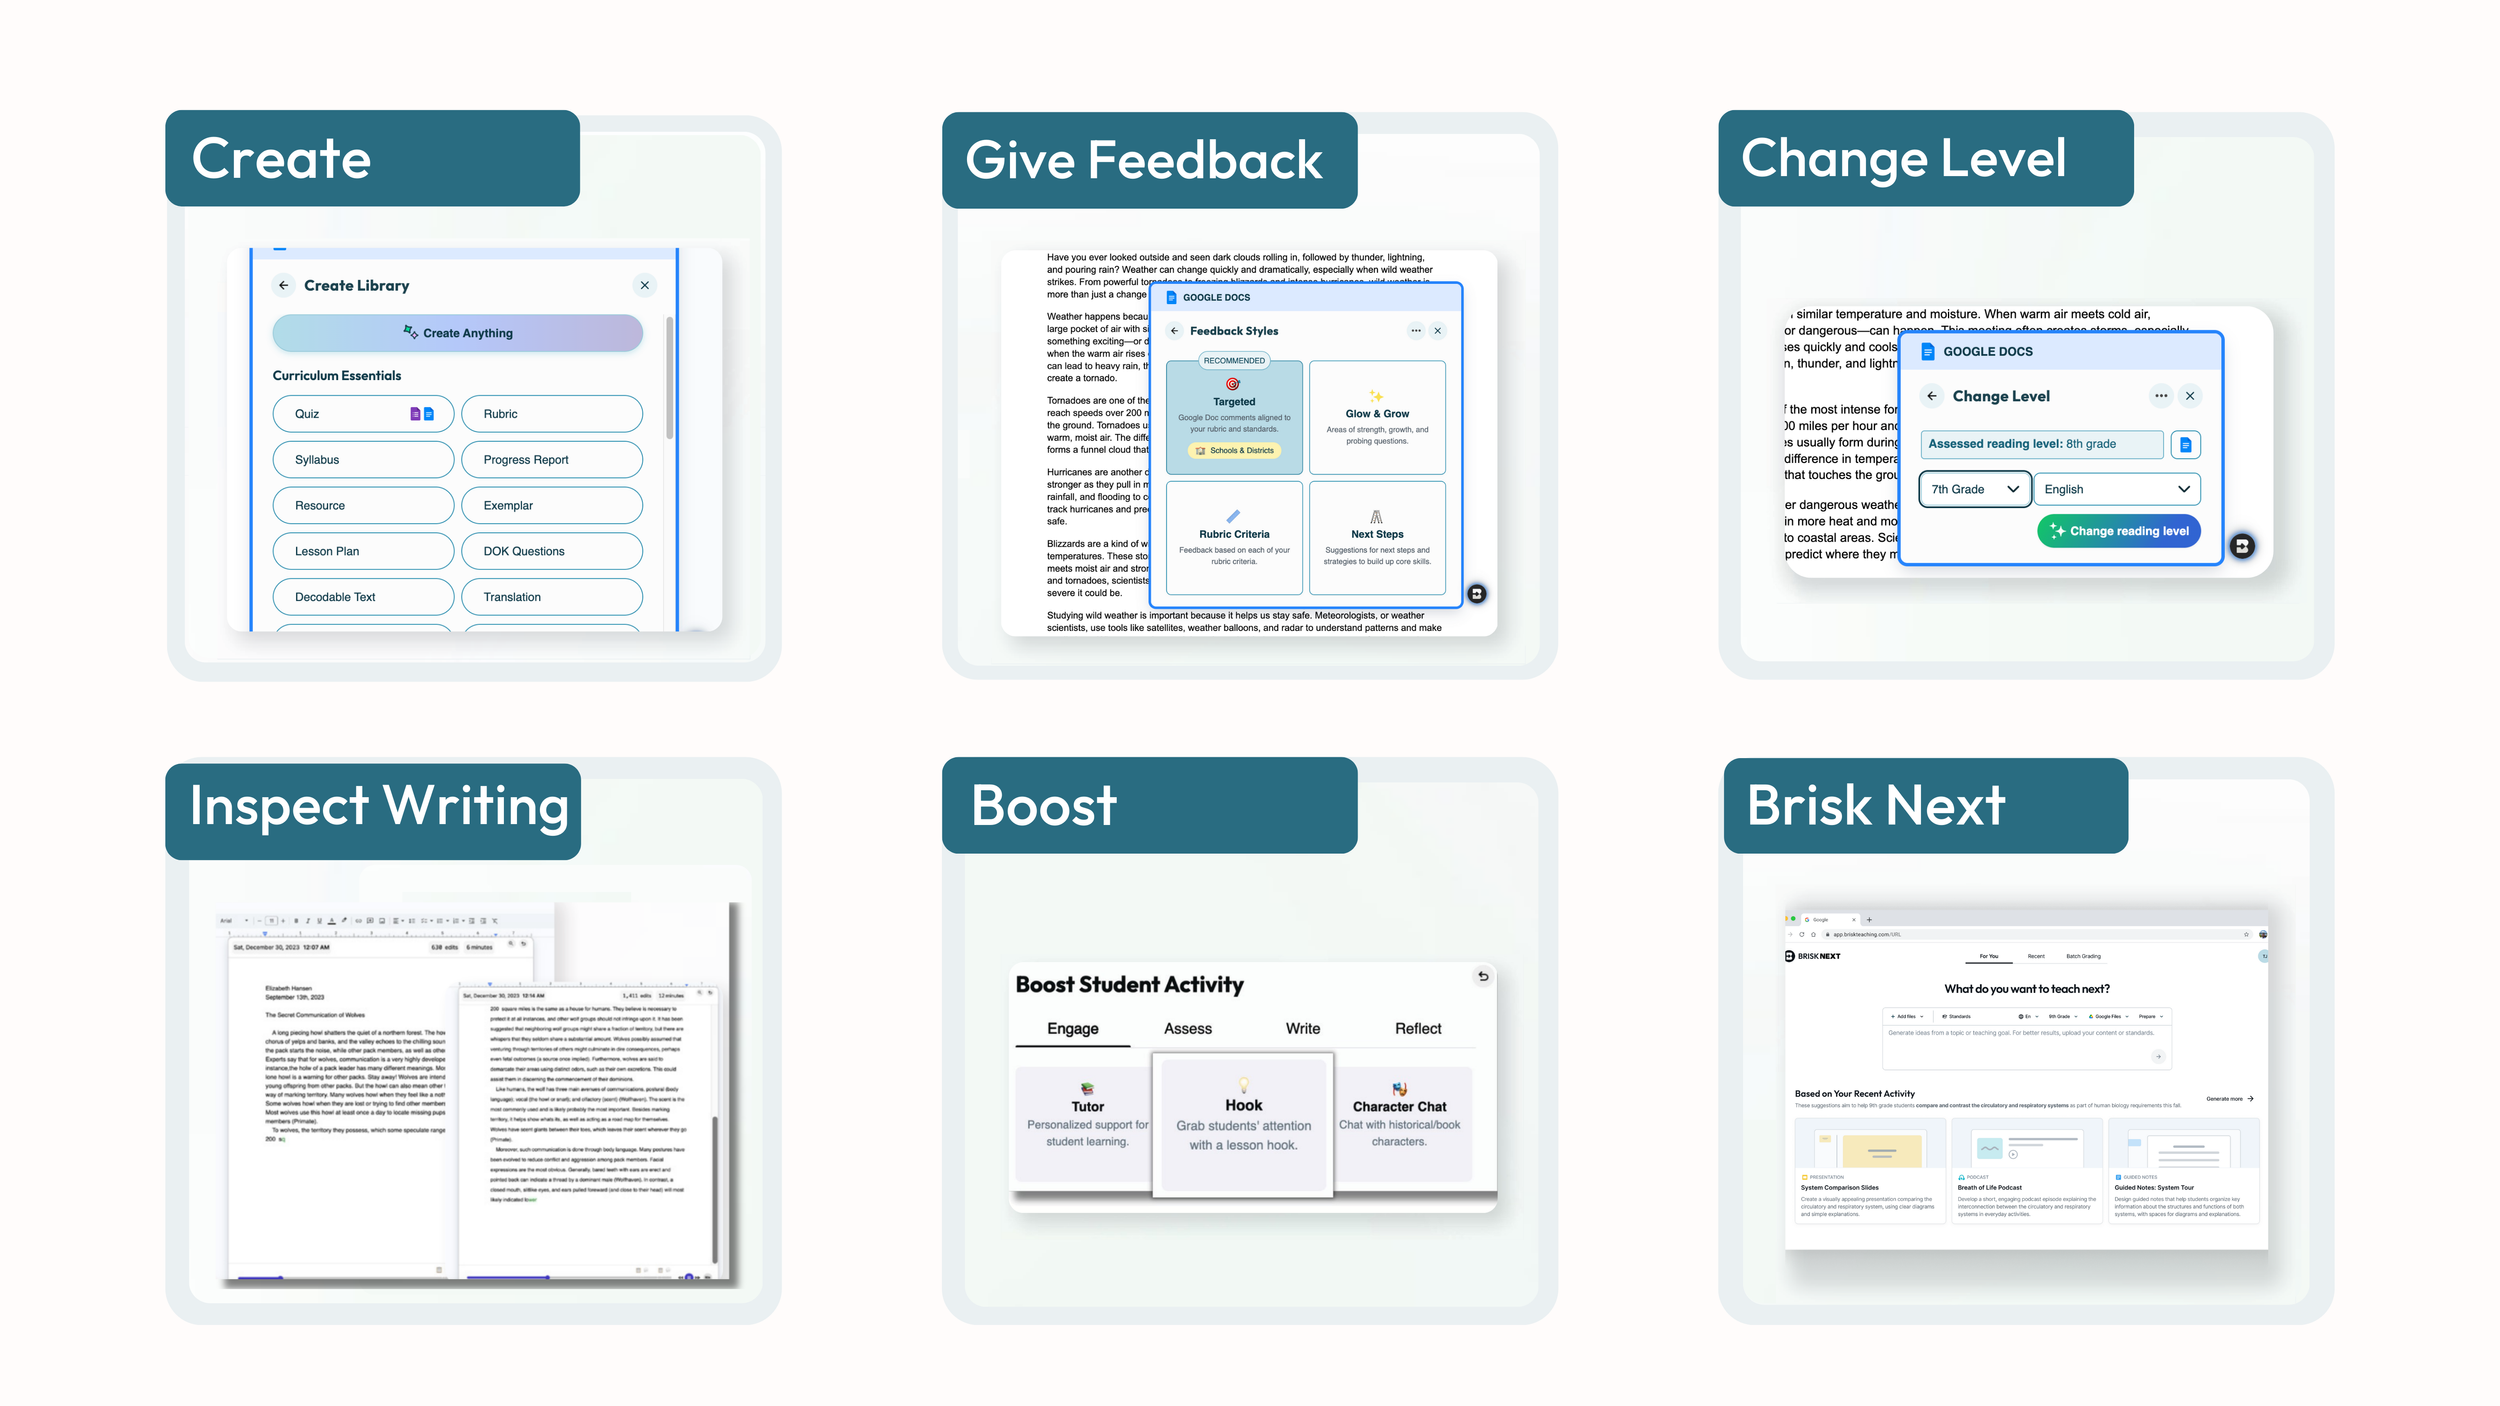
Next-Level Teaching with Brisk
Brisk Teaching is a popular AI assistant for teachers. Read about Brisk’s 6 core tools, get the details on Brisk Next, and receive 3 free months of Premium access.
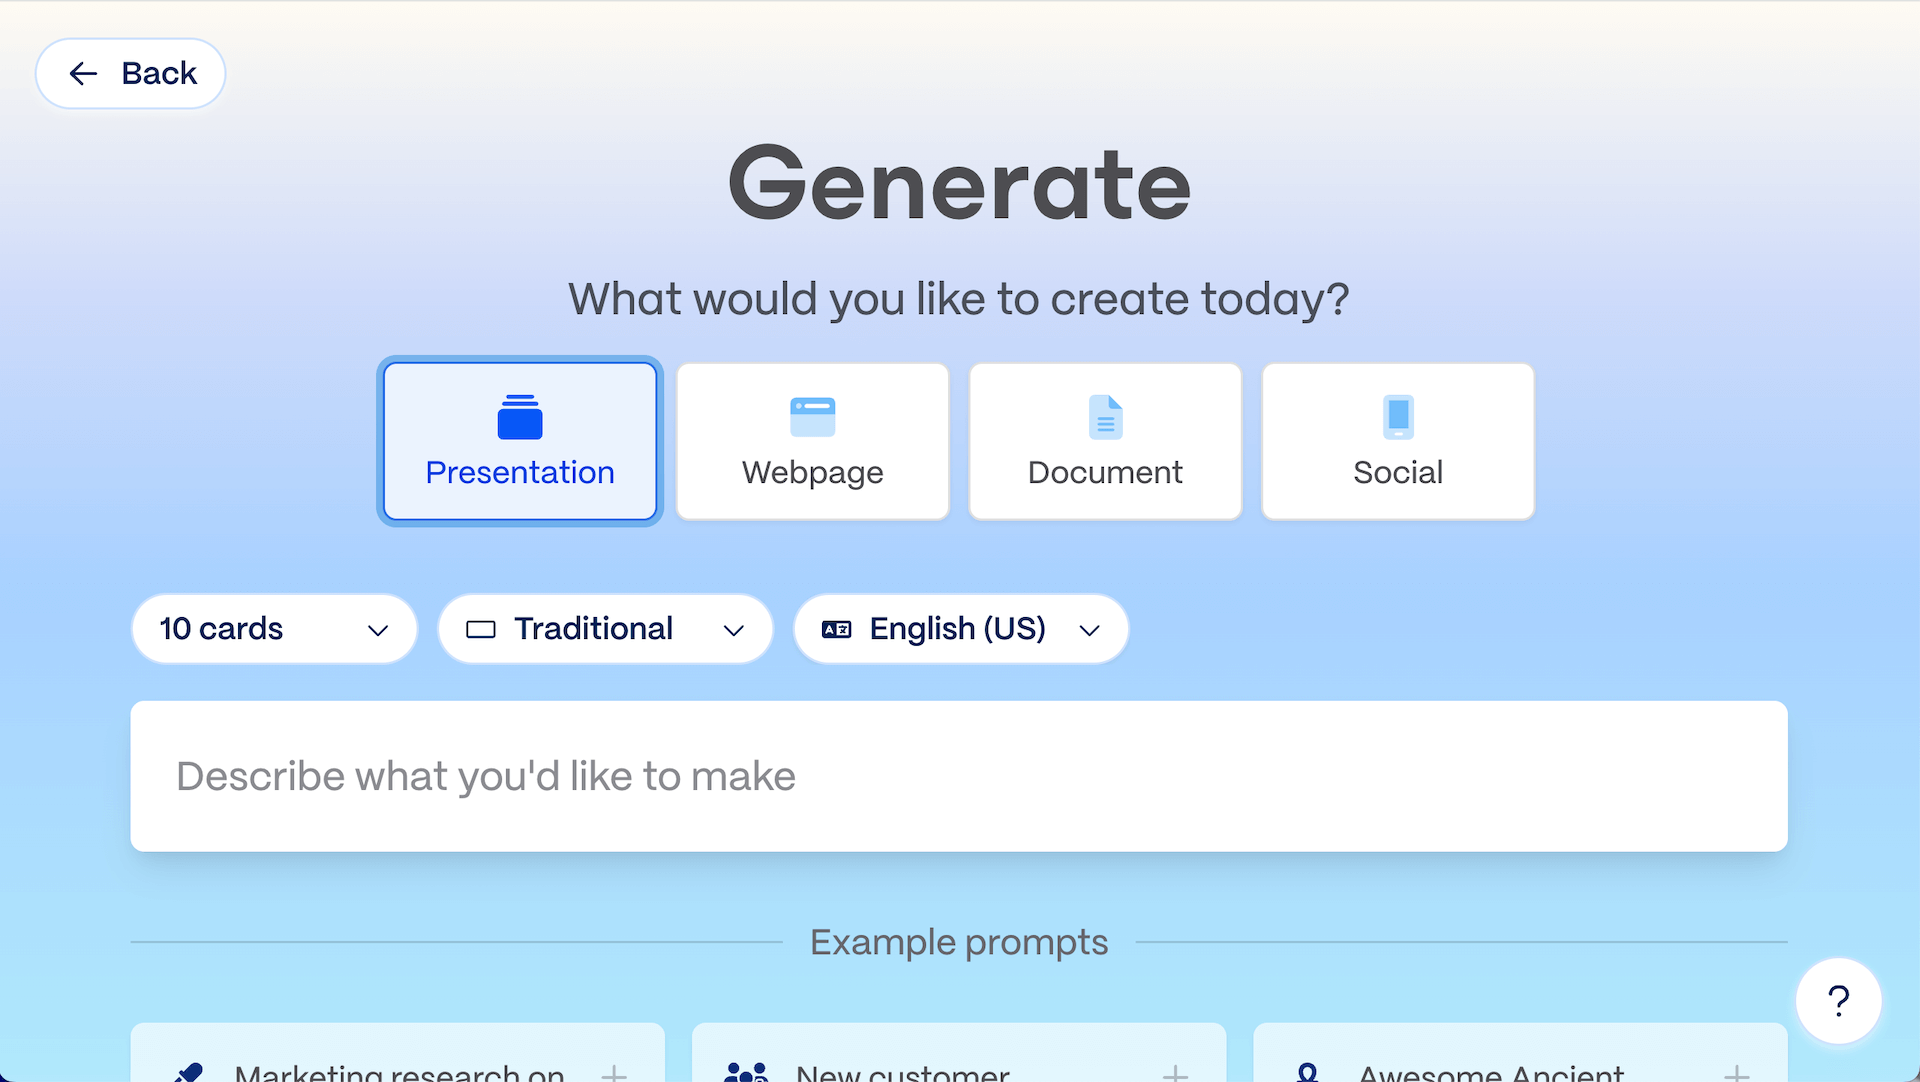
Gamma.app: AI Slideshow Generator for Teachers
Curious about AI slideshow tools? Teachers are turning to Gamma for quick, editable decks you can share anywhere.

Going Undercover with Wait Time
I discovered a fresh way to frame silent reflection in class: call it covert thinking.
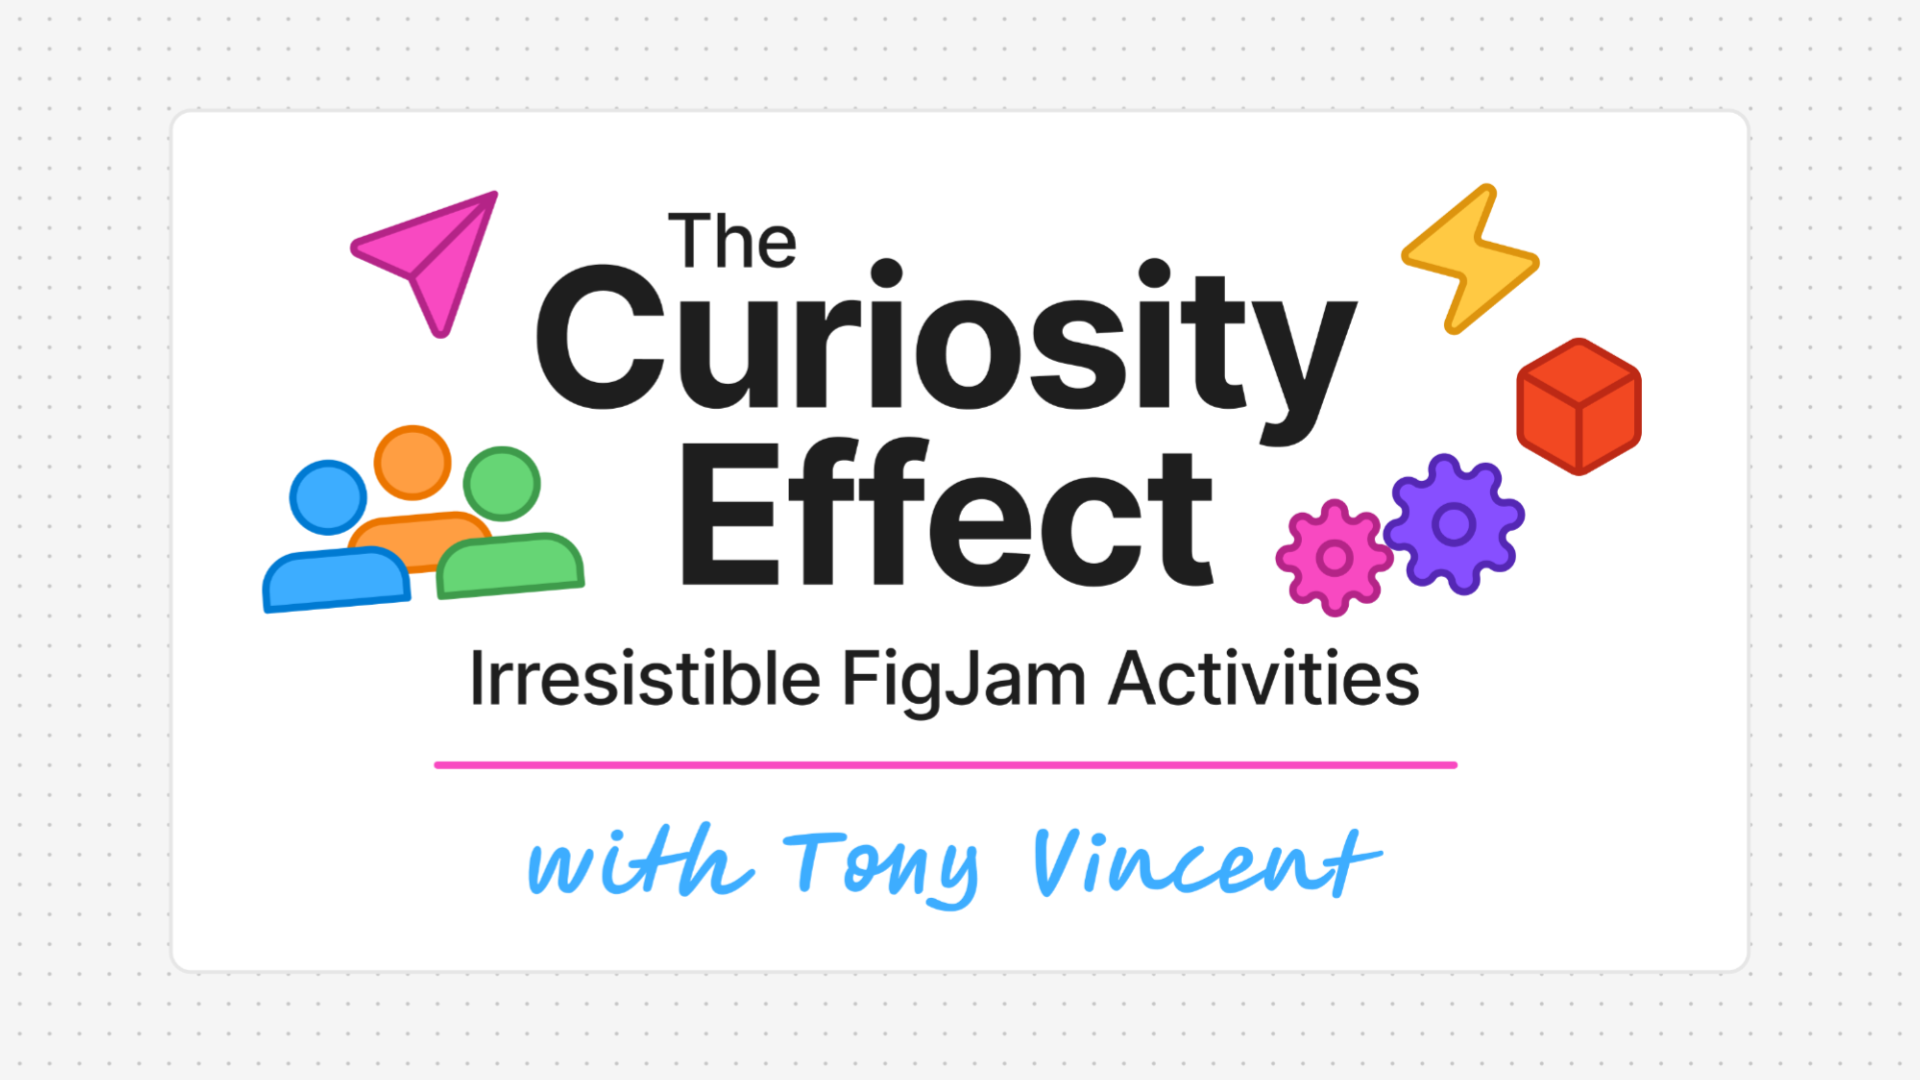
The Curiosity Effect: Irresistible FigJam Activities
FigJam is a free collaborative online whiteboard for classrooms. Watch my 23-minute presentation on using FigJam to spark student curiosity and engagement.

AI’s Tell-Tale Writing Style
The more you use AI, the more you start to spot its writing habits. I put together a graphic that highlights some of the common signs of AI-generated text.

Smashing new name for Quizizz
Quizizz has a new name! What’s inside this piñata they sent me?

Push Your Thinking with AI
Ask AI to refine, reframe, and reexamine your ideas. This post shares 10 prompts that help you think more clearly, creatively, and critically.

ChatGPT Knows Me—Here’s What It Thinks I Do Best
ChatGPT remembers details about your work, writing style, and projects—so I asked it, “What am I best at?” Its response made me smile and got me thinking about other prompts that tap into AI’s memory for personal insights.

Be An Author Month: Helping Students Tell Their Stories
March is Be An Author Month, and with free resources from Book Creator, you can help students turn their ideas into stories worth sharing.

Canva Presentations: Offline Access + Live Drawing
Two handy features for presenting with Canva: access offline and annotate in presentation mode.

Recolor SVG images in PowerPoint, Keynote, Canva, and Google Slides
Scalable Vector Graphics (SVG) images can be resized and edited without losing quality because they are made up of mathematical paths instead of pixels. I love using SVGs in my documents because I can adjust their colors to match my design directly within the app I'm using.

YES Symmetry Puzzle in Google Slides and PowerPoint
Get a copy of this puzzle in Google Slides or PowerPoint! Can you arrange the Y, E, and S pieces in a way that has a line of symmetry running through it horizontally or vertically?
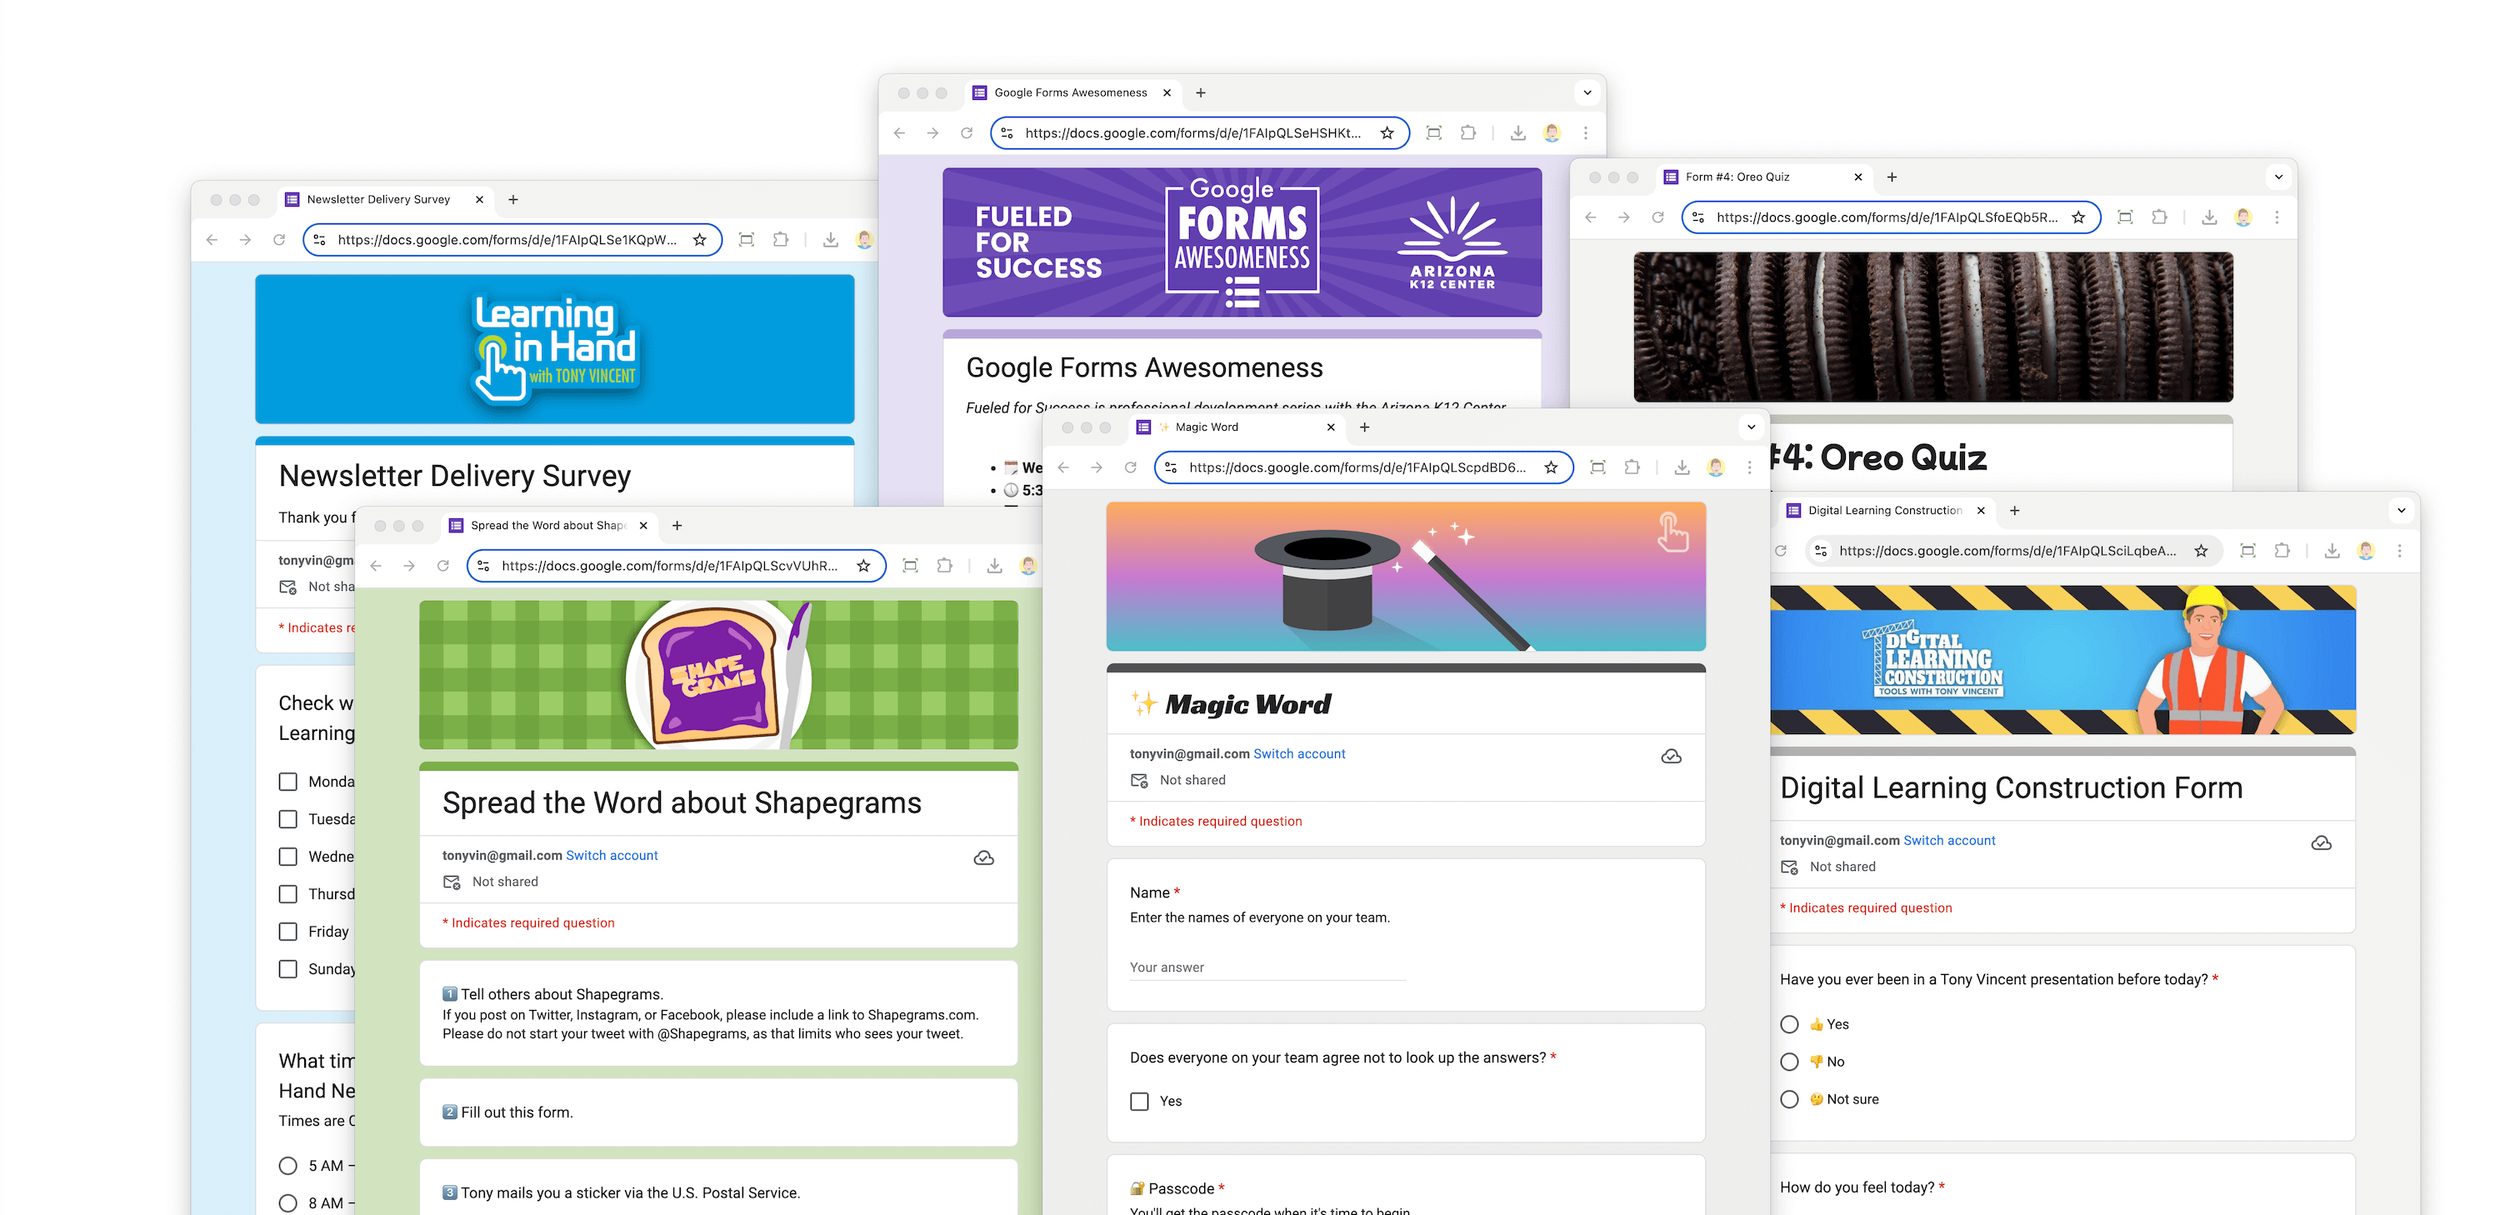
Headers That Move: The Missing Piece in Your Google Forms
The one trick that will transform your Google Forms: custom header images! Design and animate stunning headers using Google Slides or Canva to make your forms unforgettable.
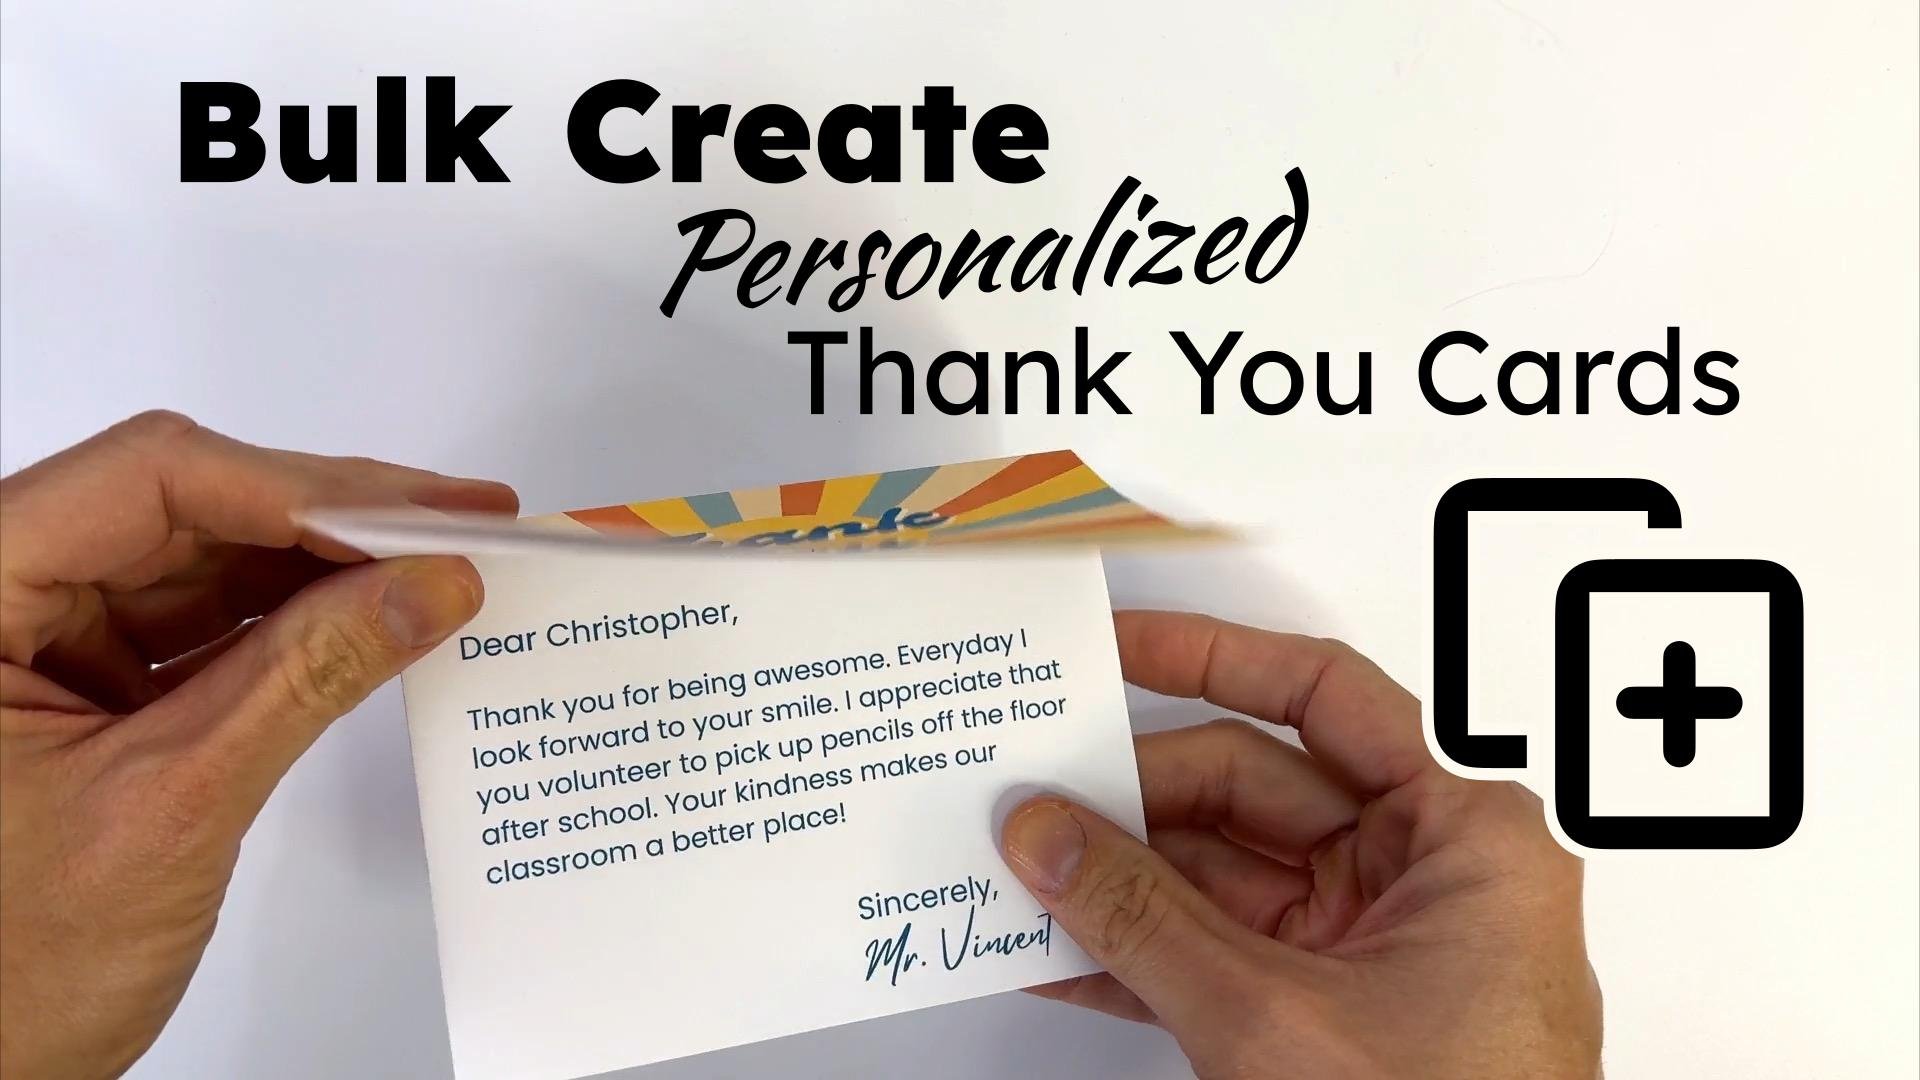
Bulk Create Thank You Cards in Canva
Nothing beats a handwritten thank-you card, but when you’re a teacher, you might have an overwhelming number of cards to write. Let me show you how to use Canva to design, personalize, and print a set of personalized thank-yous.
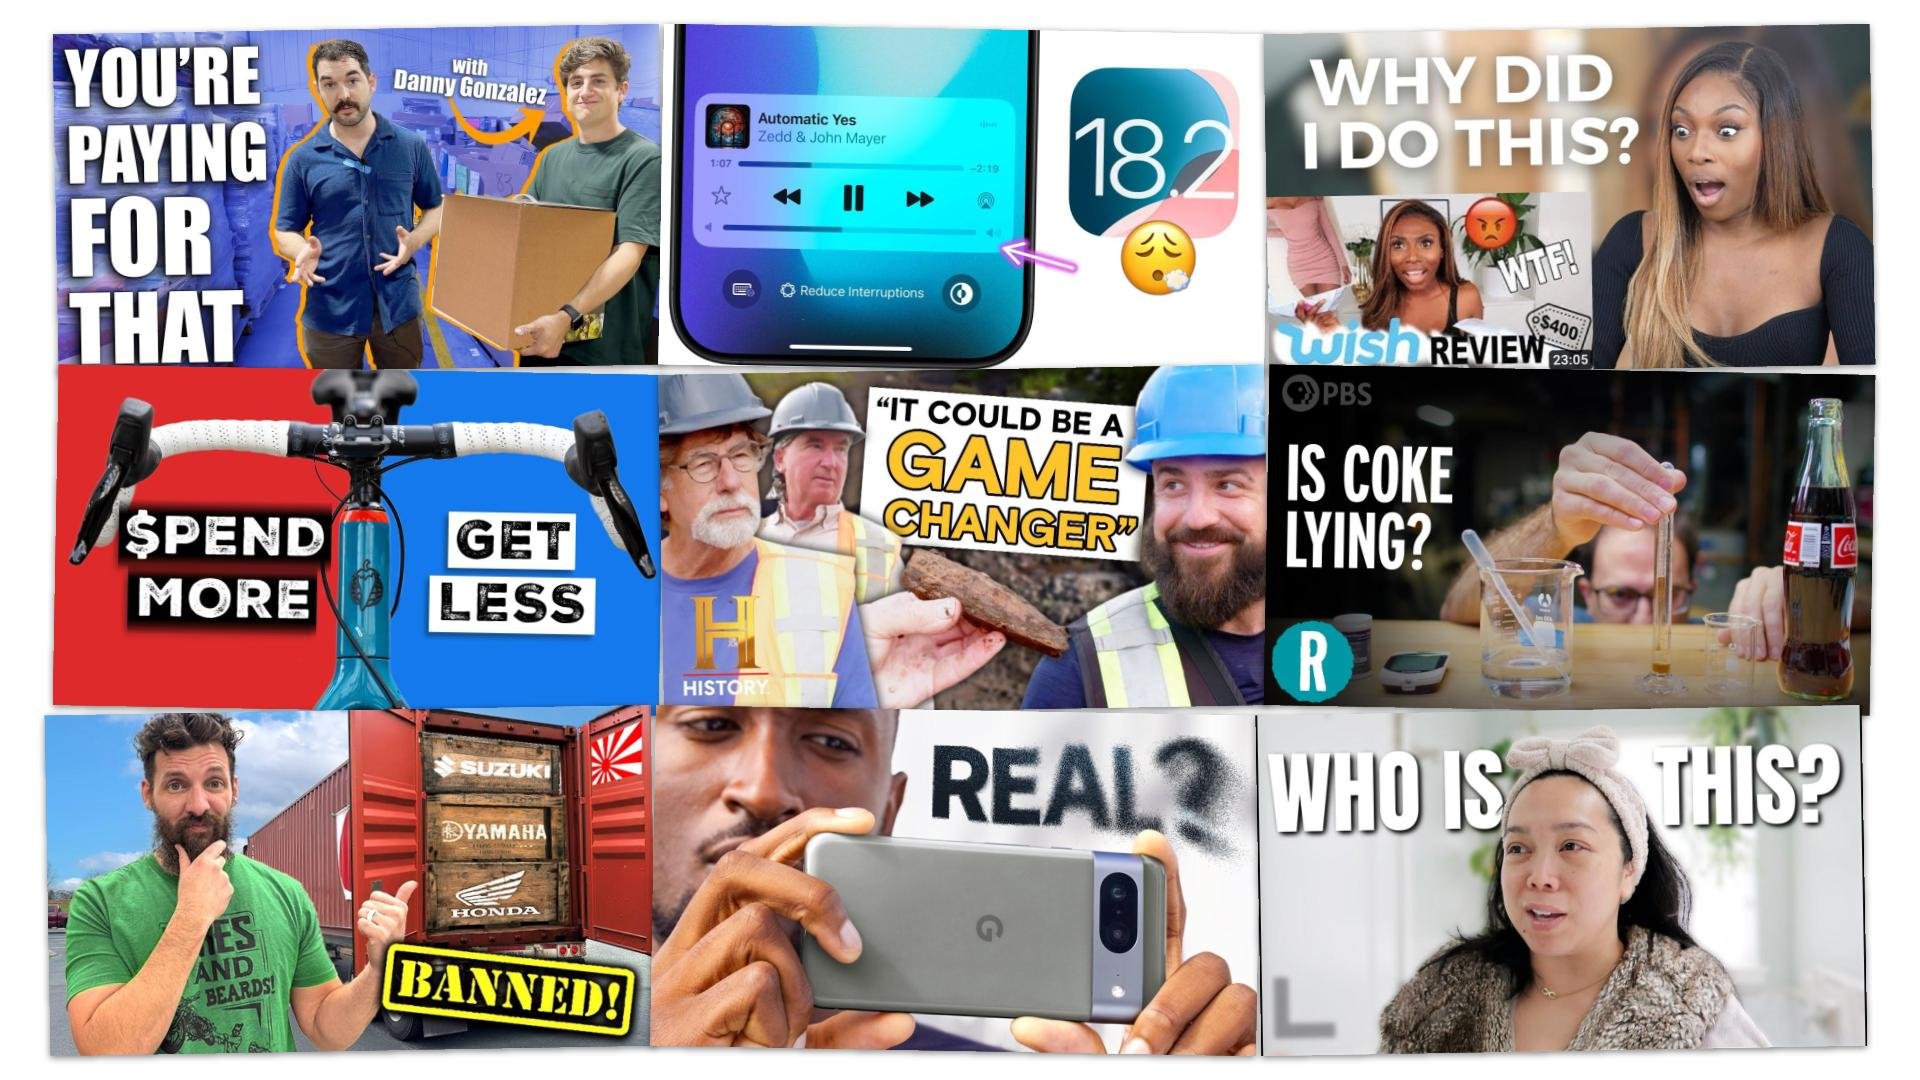
Irresistible YouTube Thumbnails
YouTube thumbnails serve as billboards to capture viewers' attention and encourage clicks. Read about strategies content creators use to make their thumbnails more compelling.