
Teachers often make videos for the purpose of documenting—videos to record events, report achievements, archive learning, capture classroom activities, facilitate reflections, and celebrate learning. Get advice for filming and editing that can help your productions be super snazzy. See demonstrations of handy apps in action, and see the end results. Find out where to get copyright friendly music and how to edit that music to match your visuals.

Thanks to Estee Williams for these notes…
Size and Orientation
Before you film, decide if your video will be horizontal (landscape), vertical (portrait) or square
Stick to this orientation
Typically, go with horizontal
Pay attention to where your fingers are when you shoot horizontally so they don’t cover the camera
Instagram story videos are vertical and are better shot that way
Youtube mobile app now supports full screen vertical videos (but will still have black space on either side when the video is watched on a computer screen)
Square videos are often used on social media so it looks decent on computers and mobile devices
iPad tip: double tap the screen to switch between standard (4x3) and widescreen. Standard will look good on the iPad, but the ratio is not best when you export to edit
Zoom
Most phones can zoom, but it is a digital zoom so adds no details or clarity
It looks blurry and increases shakiness
Use “manual” zoom… i.e., move closer to what you are filming
Exposure and Focus
Camera app automatically adjusts lighting and pick a focal point
On an iPhone, you can tap to pick a focal point and you can drag the exposure control up and down by holding on the screen then dragging up/down.
Camera Movement
Minimize camera movement
Have movement within the still frame instead
Shot Size
Wide shots are fine to establish location
Wide shots don’t convey emotion and body language
Film so you can see the whites of people’s eyes
Mix in a few medium and wide shots
Lighting
Light from the front
Backlighting makes people look like silhouettes
Trailers
iMovie for Mac and iOS has trailer templates
You add your pictures and words while the app handles music and transitions
The Mac version has twice as many templates as the iOS version
Clip length
When choosing action clips, stick to clips less than 10 seconds
Changing the shot every few seconds keeps the video moving along and the audience interested
One Second Every Day (1se.co/)
App that reminds you to take a one second video every day
Splices all the seconds together for you
Teachers can use to create a video scrapbook of the school year
Think in Clips
Think of recording the clips to tell the story you want to tell your story (and that will look good)
Don’t record anything you don’t think you’ll use
Immediately delete clips you know you won’t use
Editing
When in doubt, cut it out
The shorter the video the better
Google Photos
Google Photos is awesome (it really is!)
Provides unlimited space to store photos and videos
Uses machine learning to find objects (and people) in your photos
In the iOS and Android apps, you can edit together a movie with up to 50 photos/videos and adjust the trimming of clips and music
Film in Clips
If you think/film in clips, your library will be filled with short videos
But then you have to splice them together
Filming Without Splicing
iOS app: VideoCam+
Android: CameraMX
These apps allow you to pause and resume recording
This leaves you with one video file without splicing or editing
Apple Clips for iPhone and iPad (apple.com/clips)
Record video
Add overlays
Live titles = captions of what is said in the clip
Search #ClassroomClips for examples
Master Music
Get free and copyright friendly music from the YouTube Audio Library
If your video is longer than your music file, drag the clip into the timeline again
Trim the end of the first instance
Trim the start of the second instance
Play around with the trimming until it sounds decent
When the music is longer than the video, trim from the beginning
Line up the end with the end of the video
Drag the beginning until it reaches the start of the video
In WeVideo, click the blue volume line and drag so that the audio will fade in
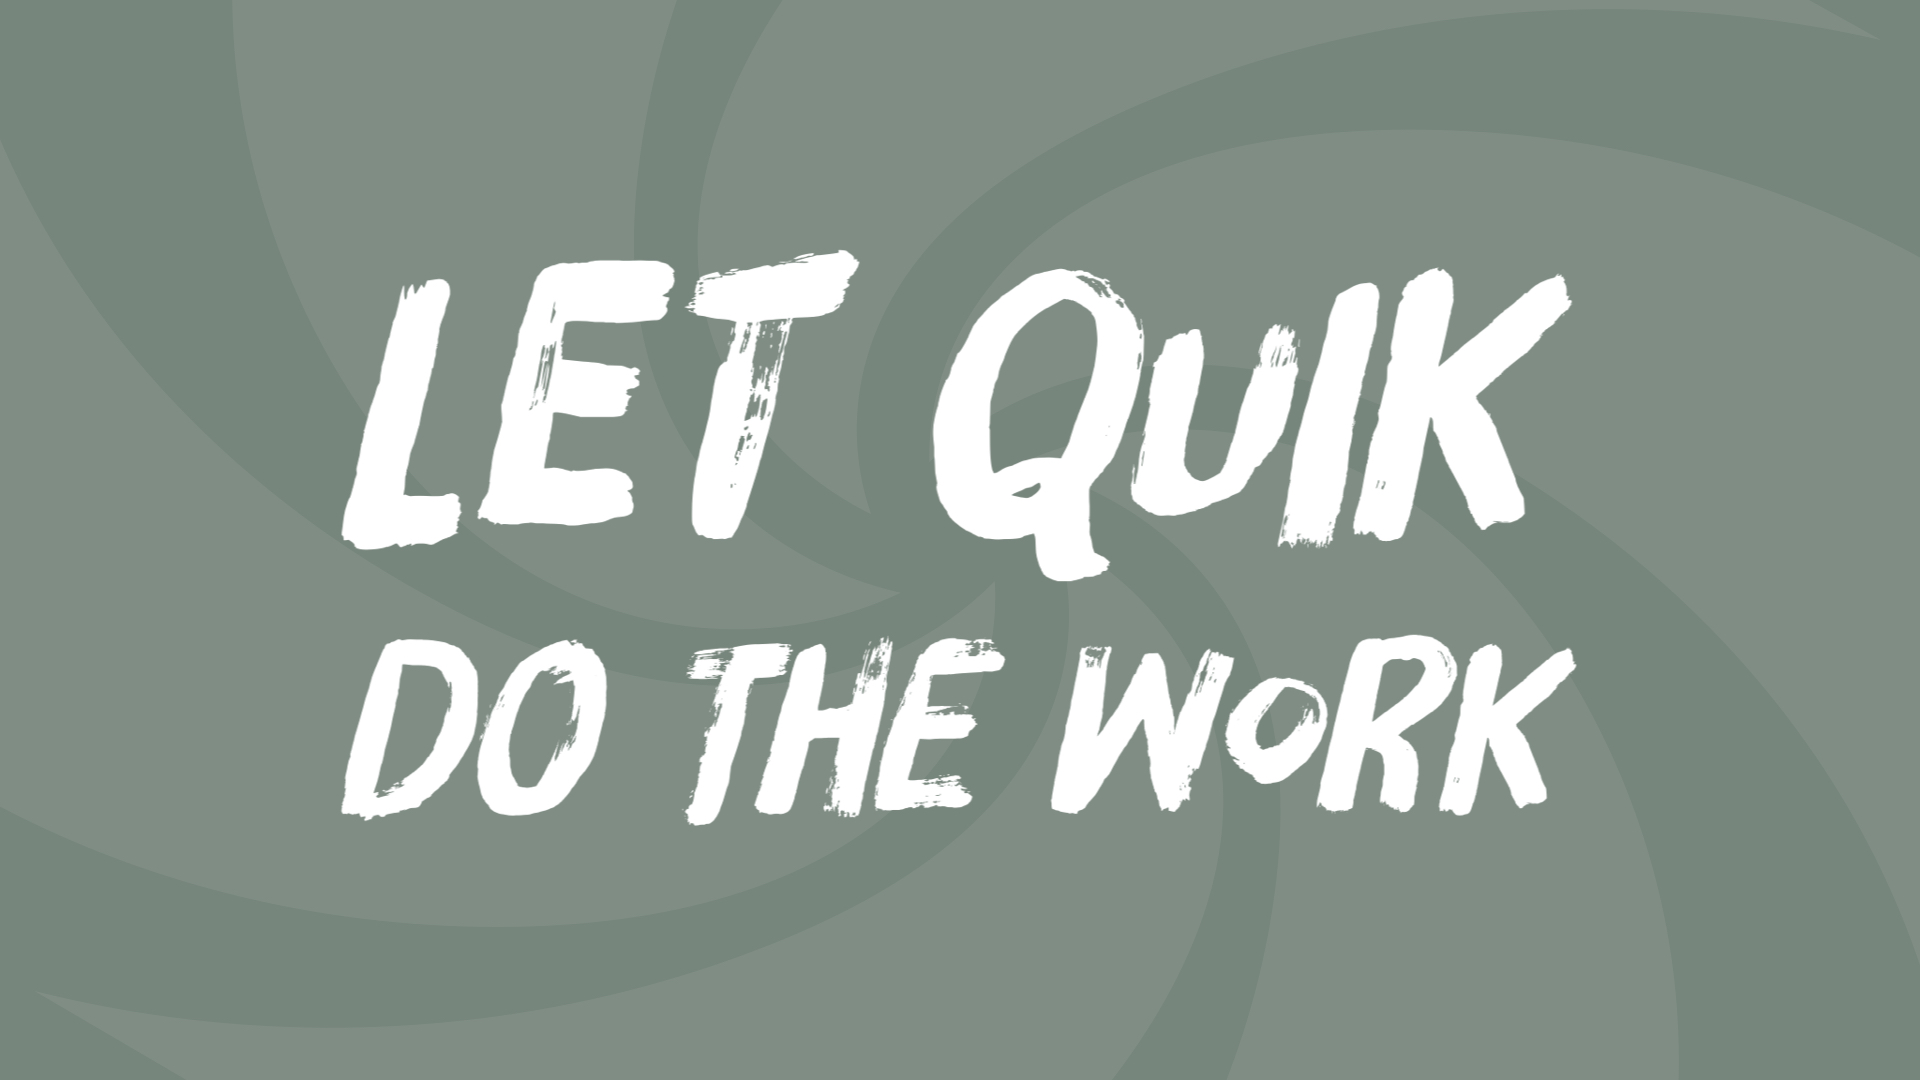
Quik
You can select photos from your phone and choose a theme
Quik analyzes the footage for the beat and creates your video
See videos made with Quik on the Pixel Paws classroom page
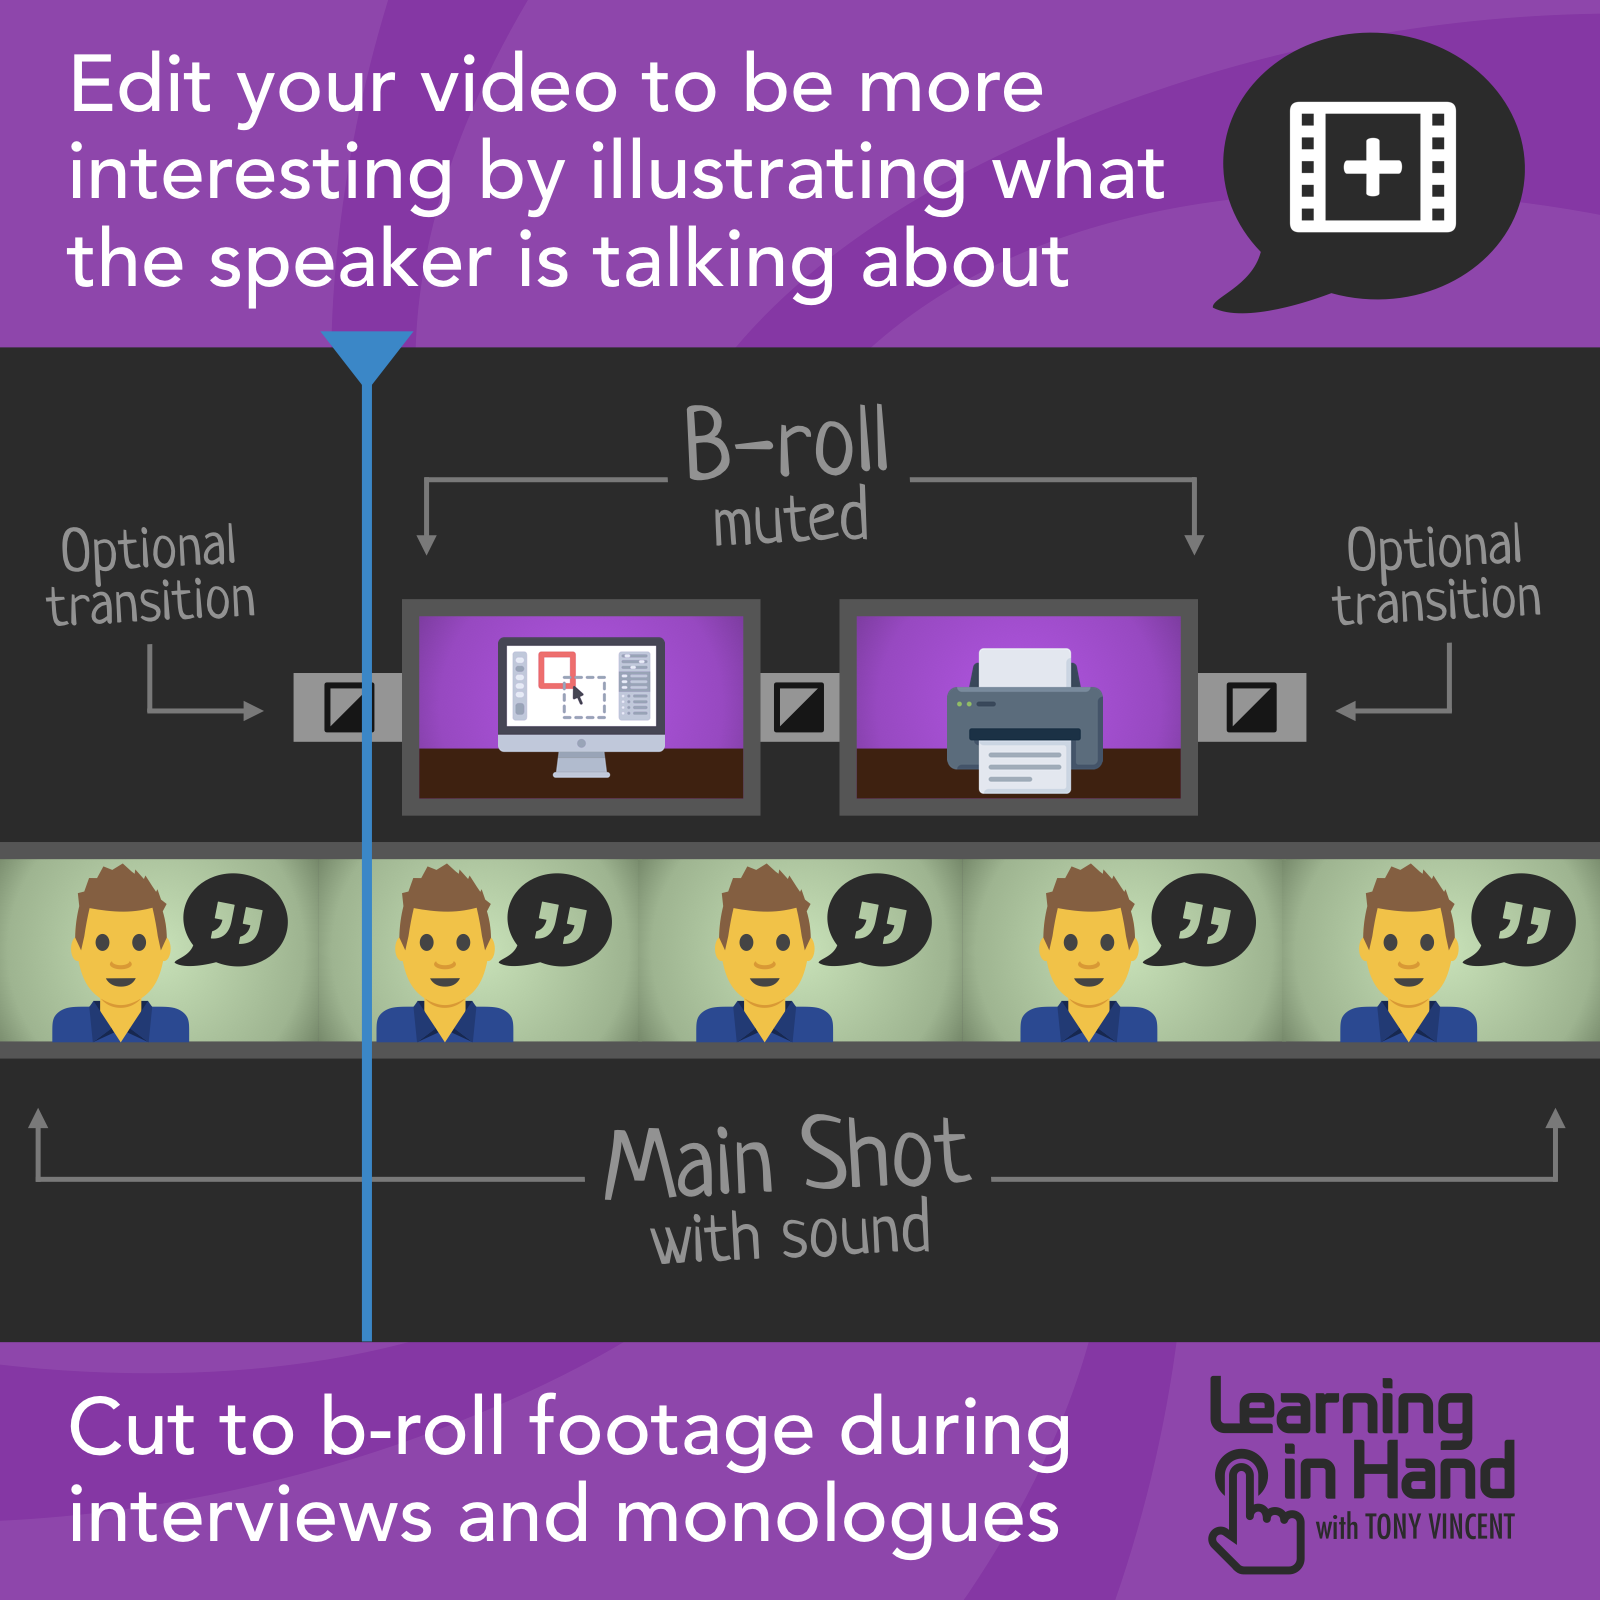
Interview Clips
You may have students or others talking in an interview style clip
Idea: download Flipgrid videos for interview clips
Add a B-roll in iMovie for iOS by adding a second video, clicking more (the three dots), and choosing Cutaway
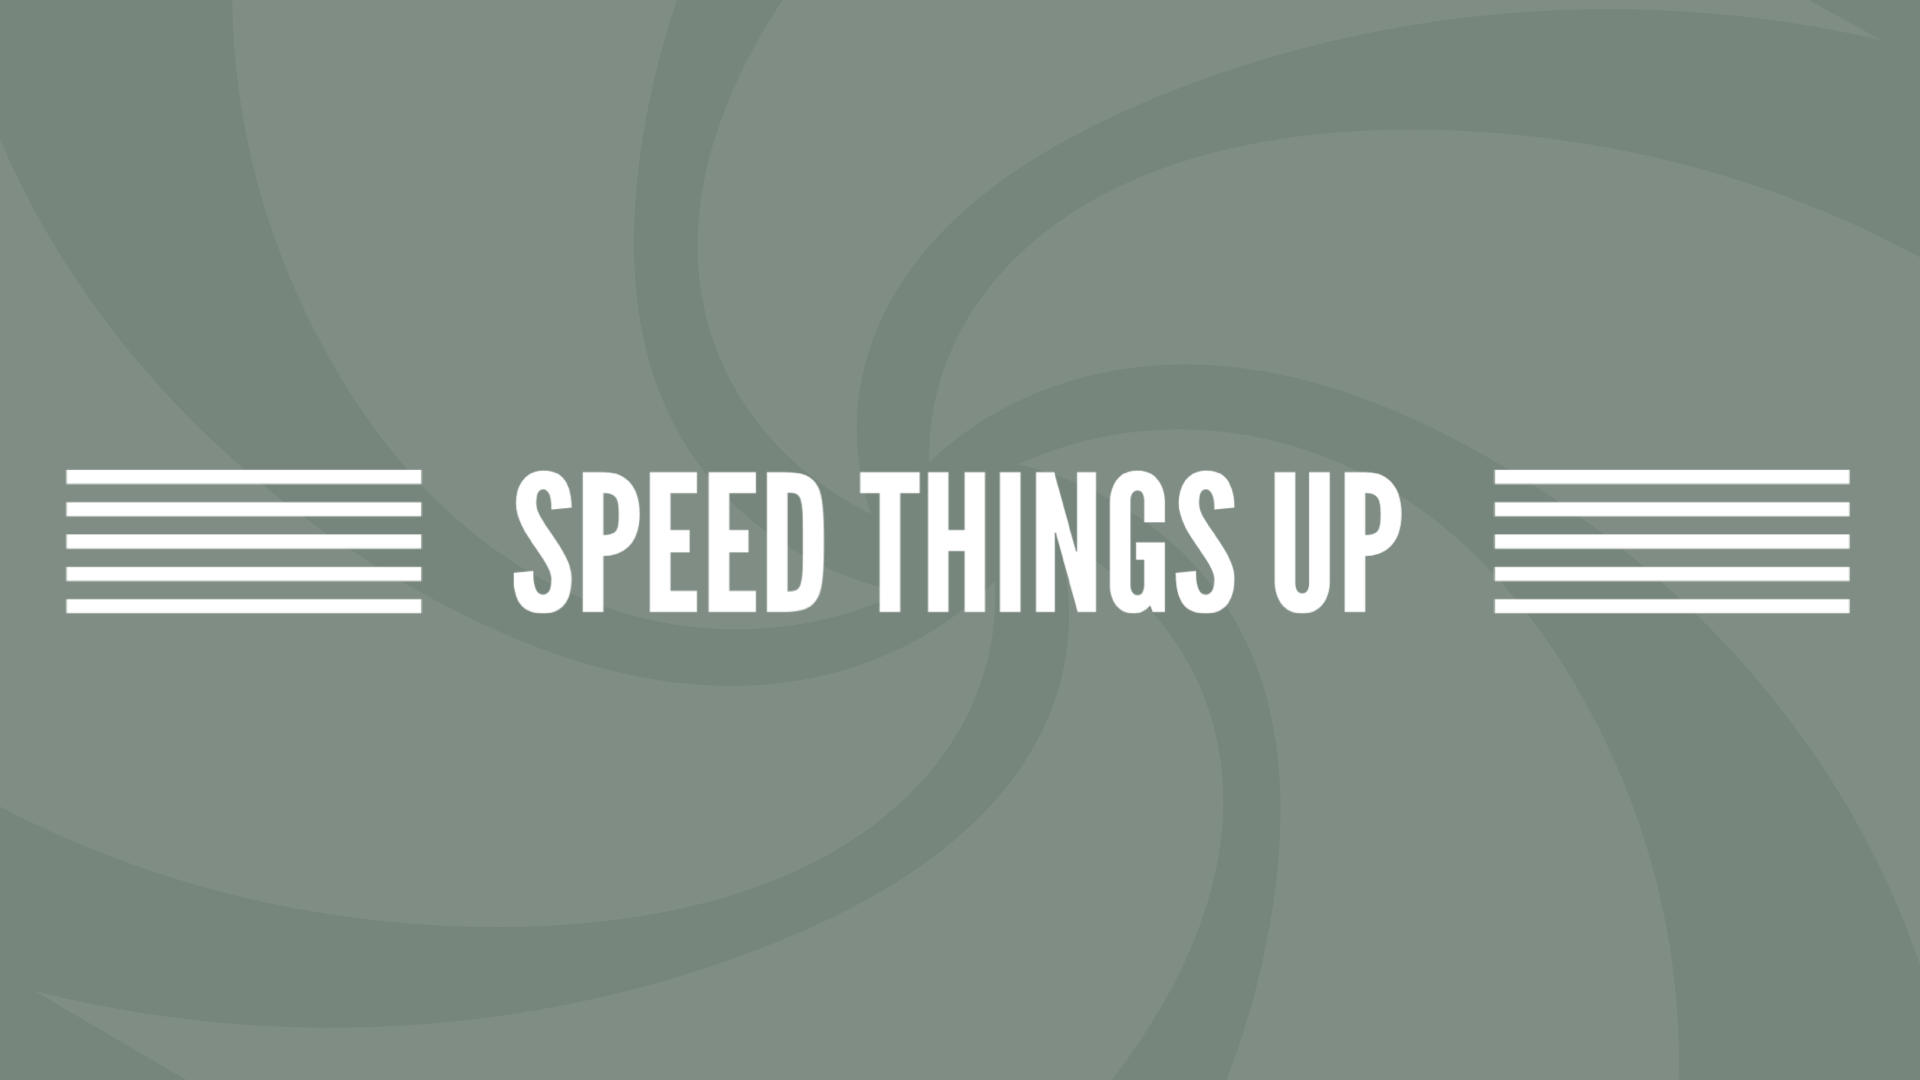
Speed Things Up
Accelerate the pace of the video by increasing the speed of a clip
Hyperlapse from Instagram is an iOS app designed to smooth the shakes out of sped up video
Microsoft Hyperlapse is an Android app for shooting smooth and stable time-lapse videos (or enhance your existing videos)
Gear Spotlight: Handheld Stabilizer
A stand or tripod is helpful when the camera is staying in one spot.
A handheld stabilizer is an alternative when you are moving around
You can create a cinematic shot
Handheld stabilize uses a 3-axis gimbal to keep the video smooth
Amazon Link for DJI Osmo 2
Gear Spotlight: Wide Angle Lens
Allows you to capture 110 degree field of view while smartphones have 75 degree field of view
Allows you to capture more of your surroundings
Amazon Link for wide angle lens


Green Guardians offers free and premium lessons for K-5 students about environmental literacy.